
 Generic Object moves in animation before applying child of constraint
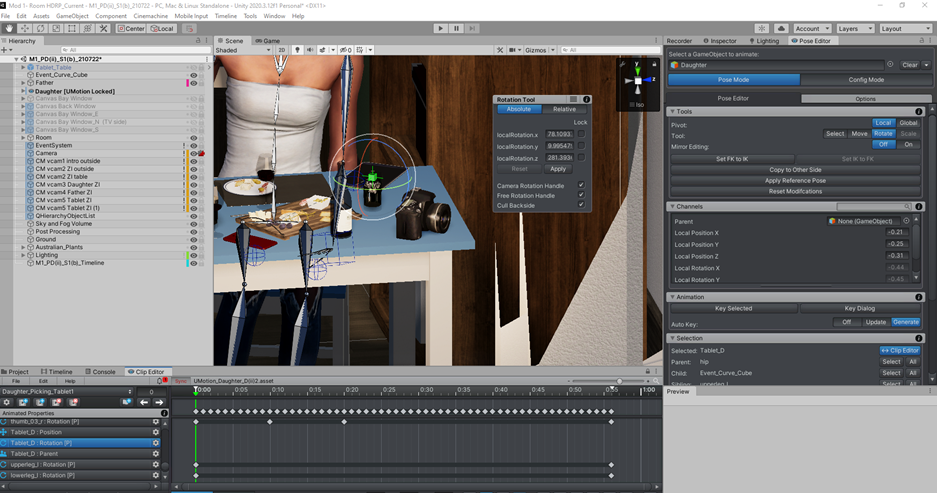
I am trying to get my character to pick up an tablet. It seems to work okay when the tablet is on the table, but as soon as I add the right hand as my Parent it moves the tablet in the animation before this, even though the parent is still showing as None. Hopefully the screenshots explain it.
Original set up and tablet location
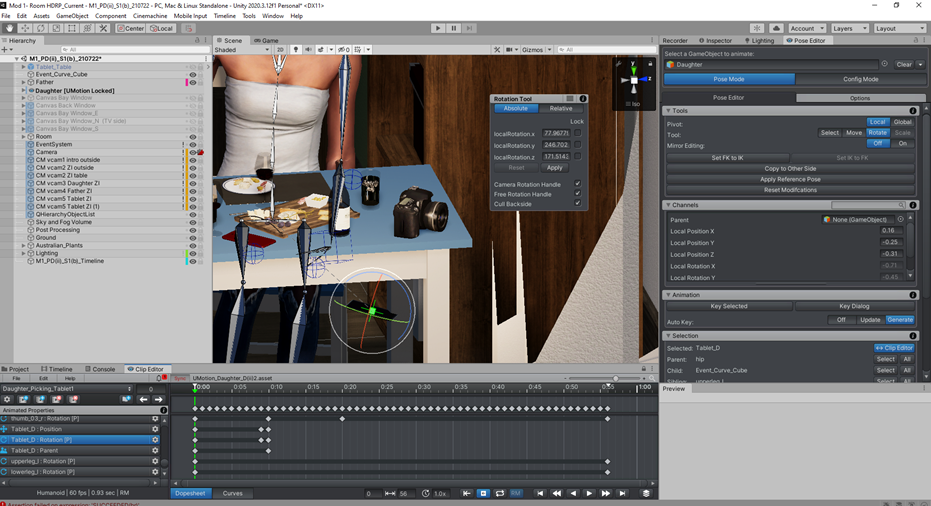
After applying child of constraint
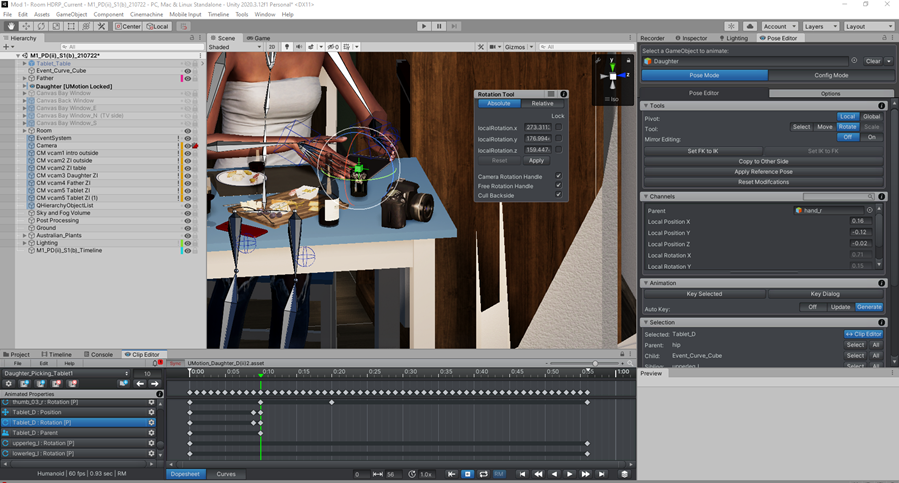
After the start of the animation after applying child of constraint.
I thought IK Pinning might work but when I try that the Parent option isn't available anymore.
Is there a step that I am missing?
Thank you

Hi,
thank you very much for your support request.
When switching the parent of a child-of constraint, 2 key frames are created. One with the position/rotation values relative to the new parent and exactly one frame before UMotion automatically creates position/rotation keys relative to the old parent.
It's a bit hard to tell from the screenshot in which order the keys have been created, but it looks like the keys on frame 0 have been created relative to parent "A" but then the parent channel was keyed for parent "none" (on frame 0) thus the position/rotation keys are in the wrong coordinate space?
Please check-out the official child-of video tutorial to learn how the child-of constraint works:
I thought IK Pinning might work but when I try that the Parent option isn't available anymore.
IK Pinning is an option of the child-of constraint and is used in conjunction with an IK handle (an IK constraint). This option is simply a replacing the arbitrary parent selection input field with a check box, where ticking the checkbox makes the IK handle relative to world-space. You do not need IK pinning in your case. More information can be found in this video tutorial:
If after watching the child-of video tutorial, you still think that there is something wrong going on, would it be possible to record a video where you do the same steps as shown in the screenshots so that I can see exactly what's going on? That makes it easier for me to identify if this is a bug or not.
Thank you very much.
Best regards,
Peter

Extra bones appearing
I was messing around with the set default pose, scene pose, reference pose and got extra bones.
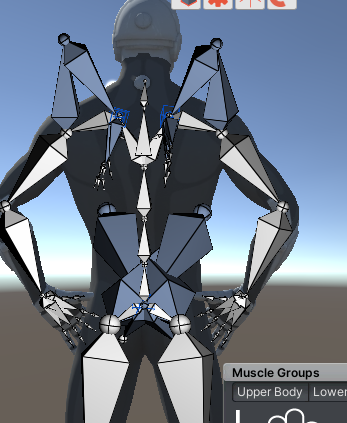
This is the pose tab. The config tab show correct bone orientation. How can I reset this. I dont want to keep pressing switches indiscriminately at this point.
Then I ended up with a clip with no keys. All was lost.
Hi,
thank you very much for your support request.
The blue bones are the "IK" bones and the "Grey" bones are the regular "FK" bones. As you have IK setup for your arms and legs, you have the regular "FK" bones for your arms and legs and the "IK" bones for your arms and legs. With the "FK/IK Blend" value (shown in the "channels" view when having the IK handle i.e. the wired cube selected) you can make the mesh follow either the FK bones or the IK bones.
Under the "Display" section of the pose editor, you can show hide the FK/IK bones.
The getting started video tutorial briefly covers this:
And the inverse kinematics video tutorial goes even more in-depth on this topic:
Please let me know in case you have any follow-up questions.
Best regards,
Peter

Delete Soxware account?
I just wanted to ask a question here and not make an account. How do I delete my account from soxware?
Hi,
thanks for reaching out.
I can delete your account for you if you want. Btw. you do not need an account to ask a question on this forum.
Best regards,
Peter
Can't find a way to remove imported clips
When you select File > Import Clips in ClipEditor, the animation gets imported. My question is how do you remove imported clip?
Hi,
thank you very much for your support request.
In order to remove an animation clip from the UMotion project, use the button highlighted below. It deletes the currently opened animation clip.

Please let me know in case you have any follow-up questions.
Best regards,
Peter
animation doesn't reset properly
I've been struggling for a while to figure out what is going on here.
It seems as if the added height during the running animation doesn't go back to normal when leaving the animation and for some reason changes the height of the object where the animator is attached to.
Normally it worked at the start but for some reason when I tried during the recording even the starting position is adjusted.
I managed to fix that by just reimporting the clip but the major problem is that the character's position and rotations keep changing without doing anything to change those values causing these weird movements..

Hi,
thank you very much for your support request.
Ok so I see 2 things going on:
- You're character is in a default humanoid "feutal" pose at the beginning. That happens for example when the animation you are playing is not compatible with that character (e.g. the animation you're animation controller state-machine is playing is "generic" but your character is "humanoid"). Check you're "Animator" window to see which animation is played in this situation. This is default Unity animation stuff and shouldn't be related to UMotion.
It's normal that you're not possible to move your character by adjusting the position/rotation values in the inspector because the Unity Animator is driving those values. - The second issue (with the character getting offset while the running animation is played) might either be a result of a scripting problem in you're movement code or a result of wrong root motion settings (or both). You're running animation is an "in-place" animation (i.e. the animation itself does not move the character forward). You also need to tell Unity to treat it that way. Select the *.anim file of your running animation (that you've exported from UMotion). Then in the inspector window, set the tick-mark on every "Bake Into Pose" setting.
Disabling "Apply Root Motion" in you're character's "Animator" component might also help (in case you're not using any other root motion animation).
Please let me know in case you need any further assistance.
Best regards,
Peter

Syncing with animation resets position
Hello there!
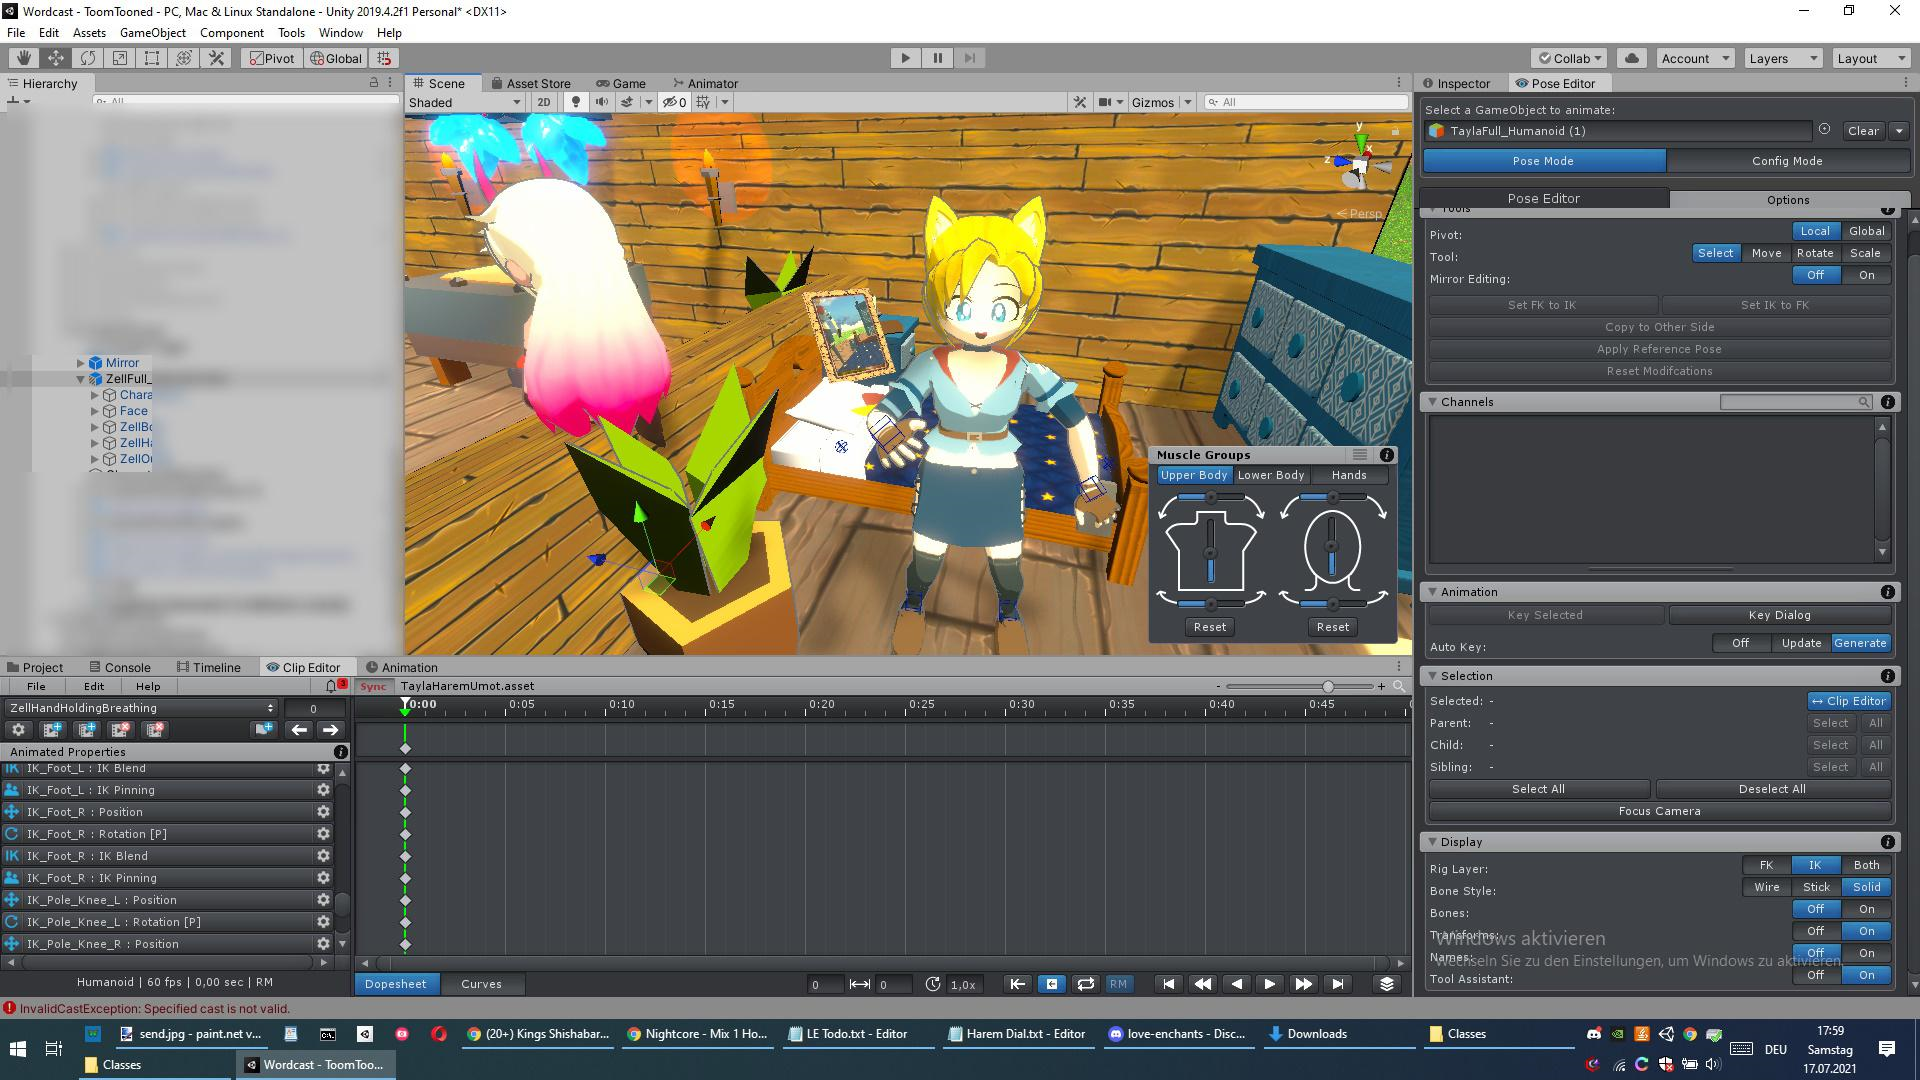
I am trying to do the impossible, aka getting 2 humanoids to interact properly with each other - I tried to make them generic, but the custom IK setup crashes UMotion (already submitted a bug report), so I am stuck with using humanoid. Now, whiel tedious, thanks to the syncing feature, it should work out.
However, when the animation of the synced character (Zell, the white haired demon in the screenshot) is previewed in unity, it sets her position to 0,0,0, instead of keep her on the right of the blonde Tayla. I tried every perumtation of root motion curves and animation clip settings, but she still jumps away when syncing and previewing.
Any ideas?
Hi Max,
thanks for your support request.
As mentioned in my reply to your bug report, please update your UMotion version to the latest from the asset store. Not only does it most possibly solve the exception that you've experienced when using custom IK, it should also help with the timeline syncing.
Also make sure that your Unity timeline version is up-to-date (see Unity package manager).
Regarding the Unity timeline offset, there are several settings that affect how Unity timeline does offset your character. It depends on the exported animation clips root motion settings (i.e. if it uses the "Original" root motion authored in your animation clip or if it uses the "Center Of Mass" of your character). Then inside Unity timeline, it depends on the settings you have made for your animation track and the animation clip inside your track (e.g. the pos/rot offset values and if "remove start offset" is used or not).
Using "original" for all your root motion curves (of your exported animation clip) and disabling the "remove start offset" in the clip settings in Untiy Timeline might be a good starting point.
But when you want really precise interactions, I highly recommend using generic and animate both character's at the same time using a single "uber" animation clip. Despite being the simplest solution, it also comes with no quality trade-offs (as humanoid does).
Best regards,
Peter

Tool (child of right hand joint) animates in Clip Editor but not in editor play mode (Mechanim)
Hi Peter,
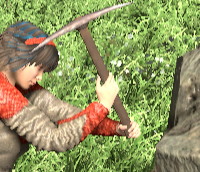
I have tweaked a human animation (mining with a pickaxe).
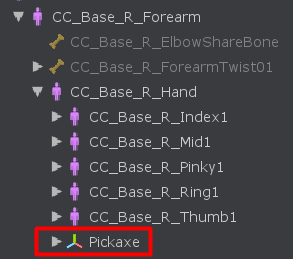
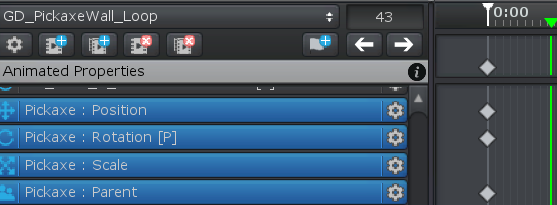
The pickaxe is child of the right hand joint and animates in the Clip Editor but not in editor play mode (Mechanim) after export as anim file.
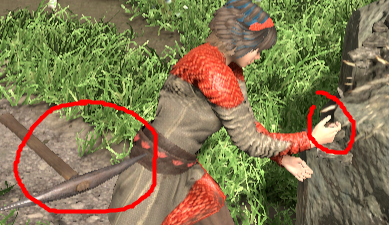
I have added the "child of" constraint to the axe and keyed it to the right hand parent, but still, when I view the animation in play mode the pickaxe just stays in T-pose place.
CLIP EDITOR Animation
PLAY MODE Animation

I've tried saving the keyframes on the base layer as well as on an Override Layer .. nothing helps
Thank you for any support!
OH MAN,
I just solved this! Out of some unknown reason the pickaxe gameobject was checked as static.
So, thanks a lot for bouncing this stupid issue back and forth.
Keep up your great work - your tool is absolutely awesome.

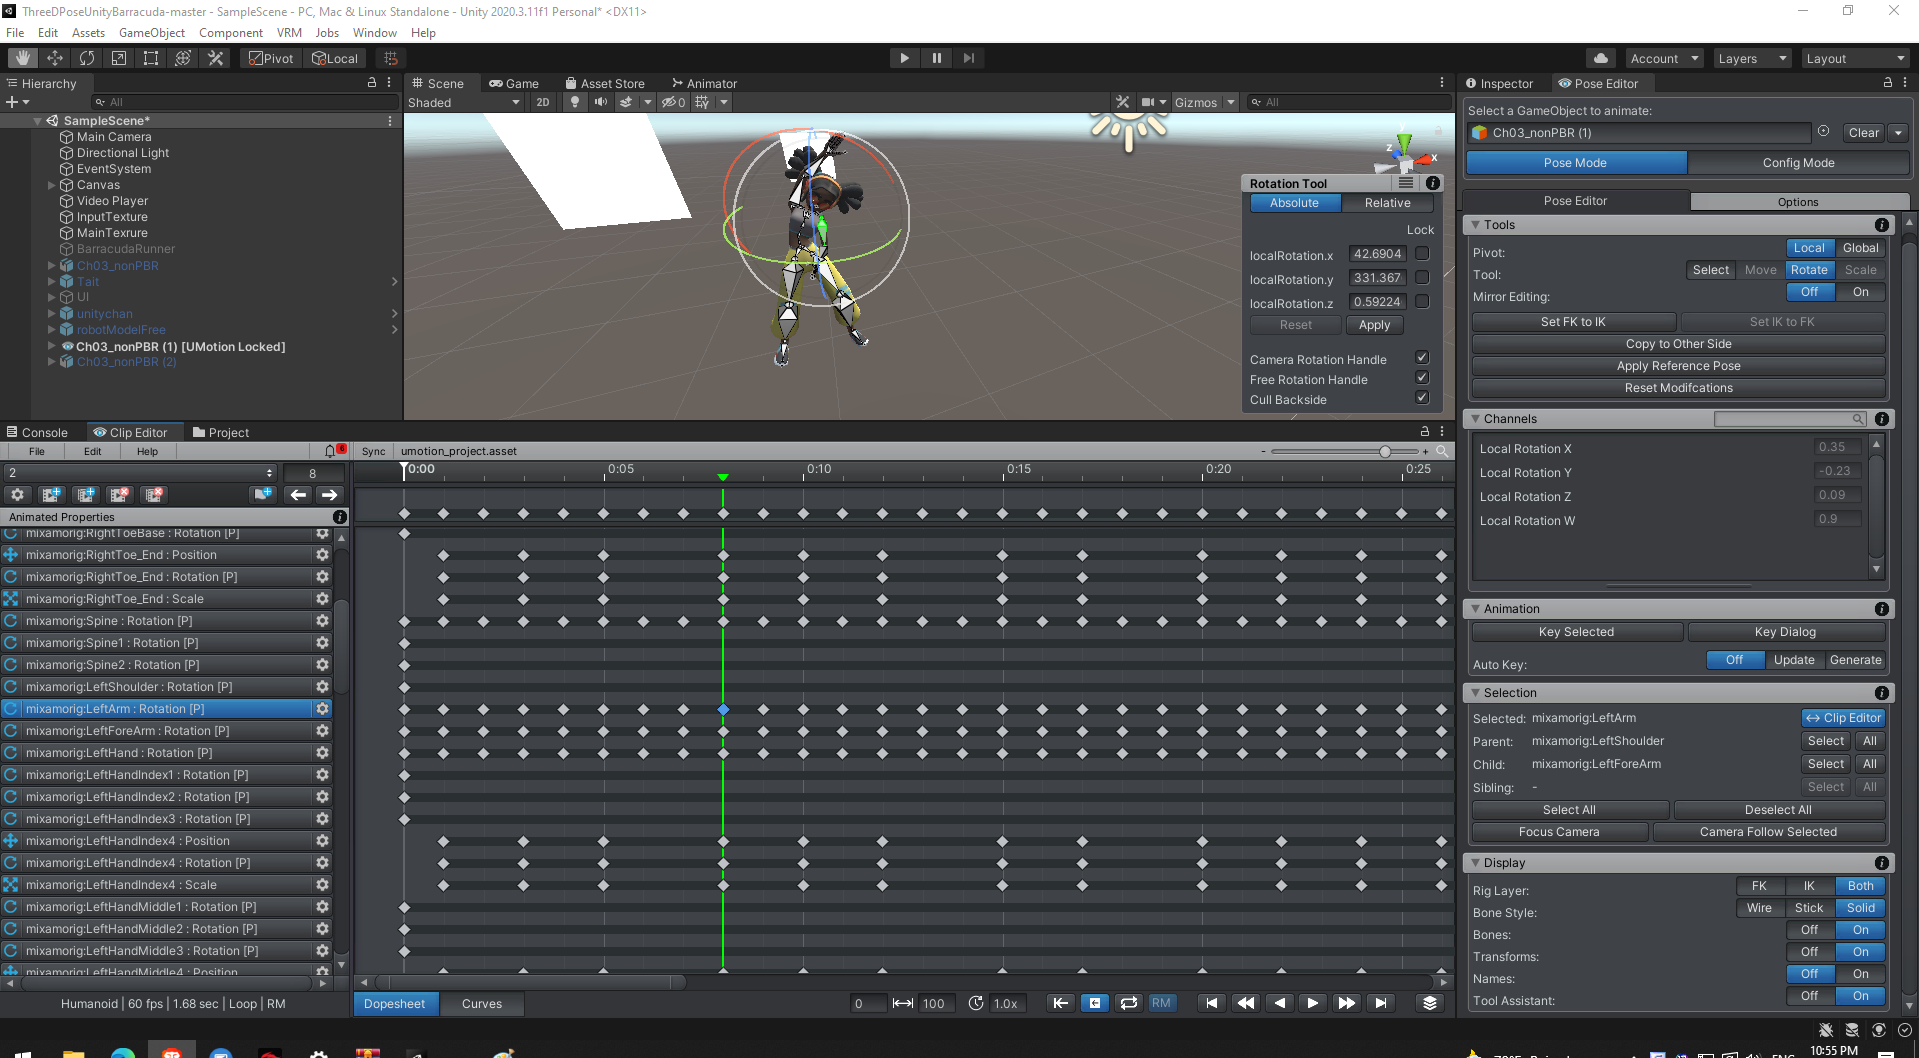
 paste the same rotation of key joint for all the key frame
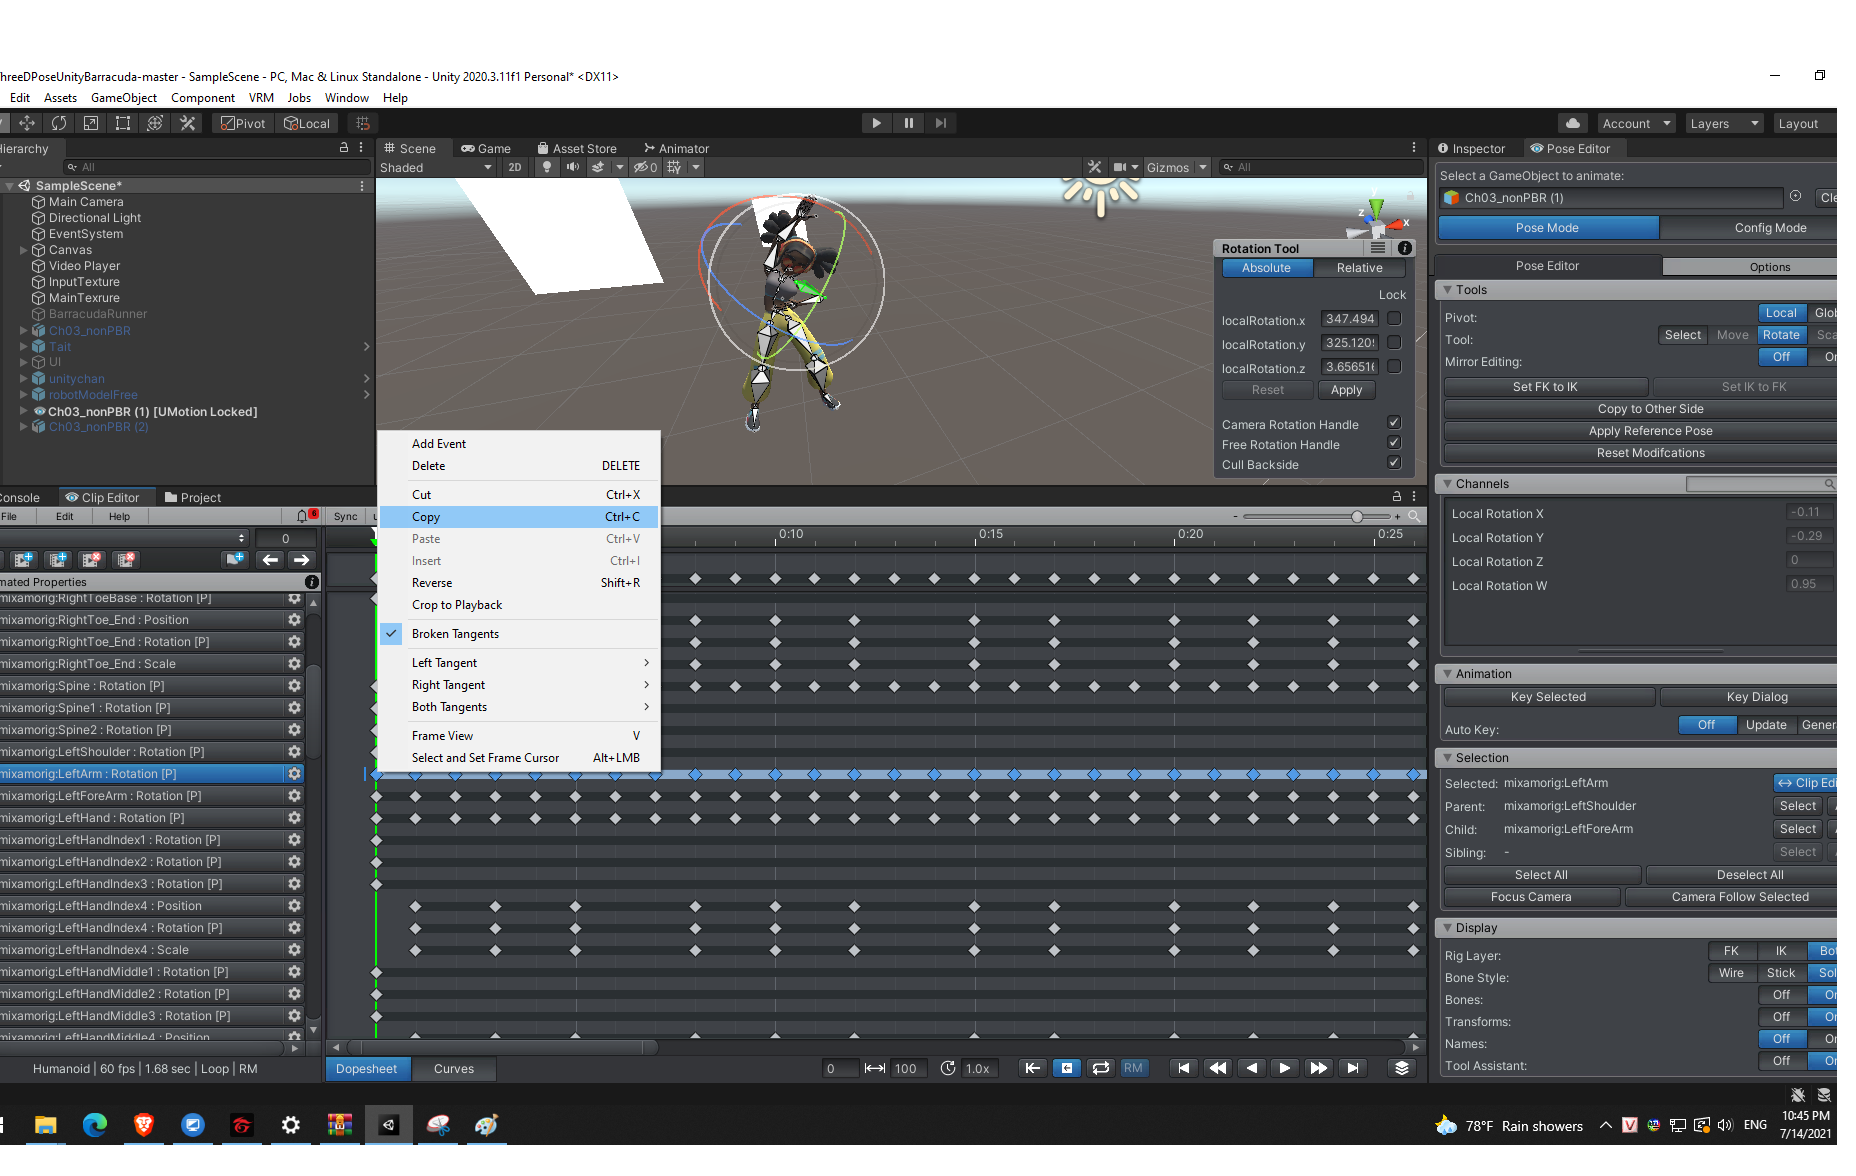
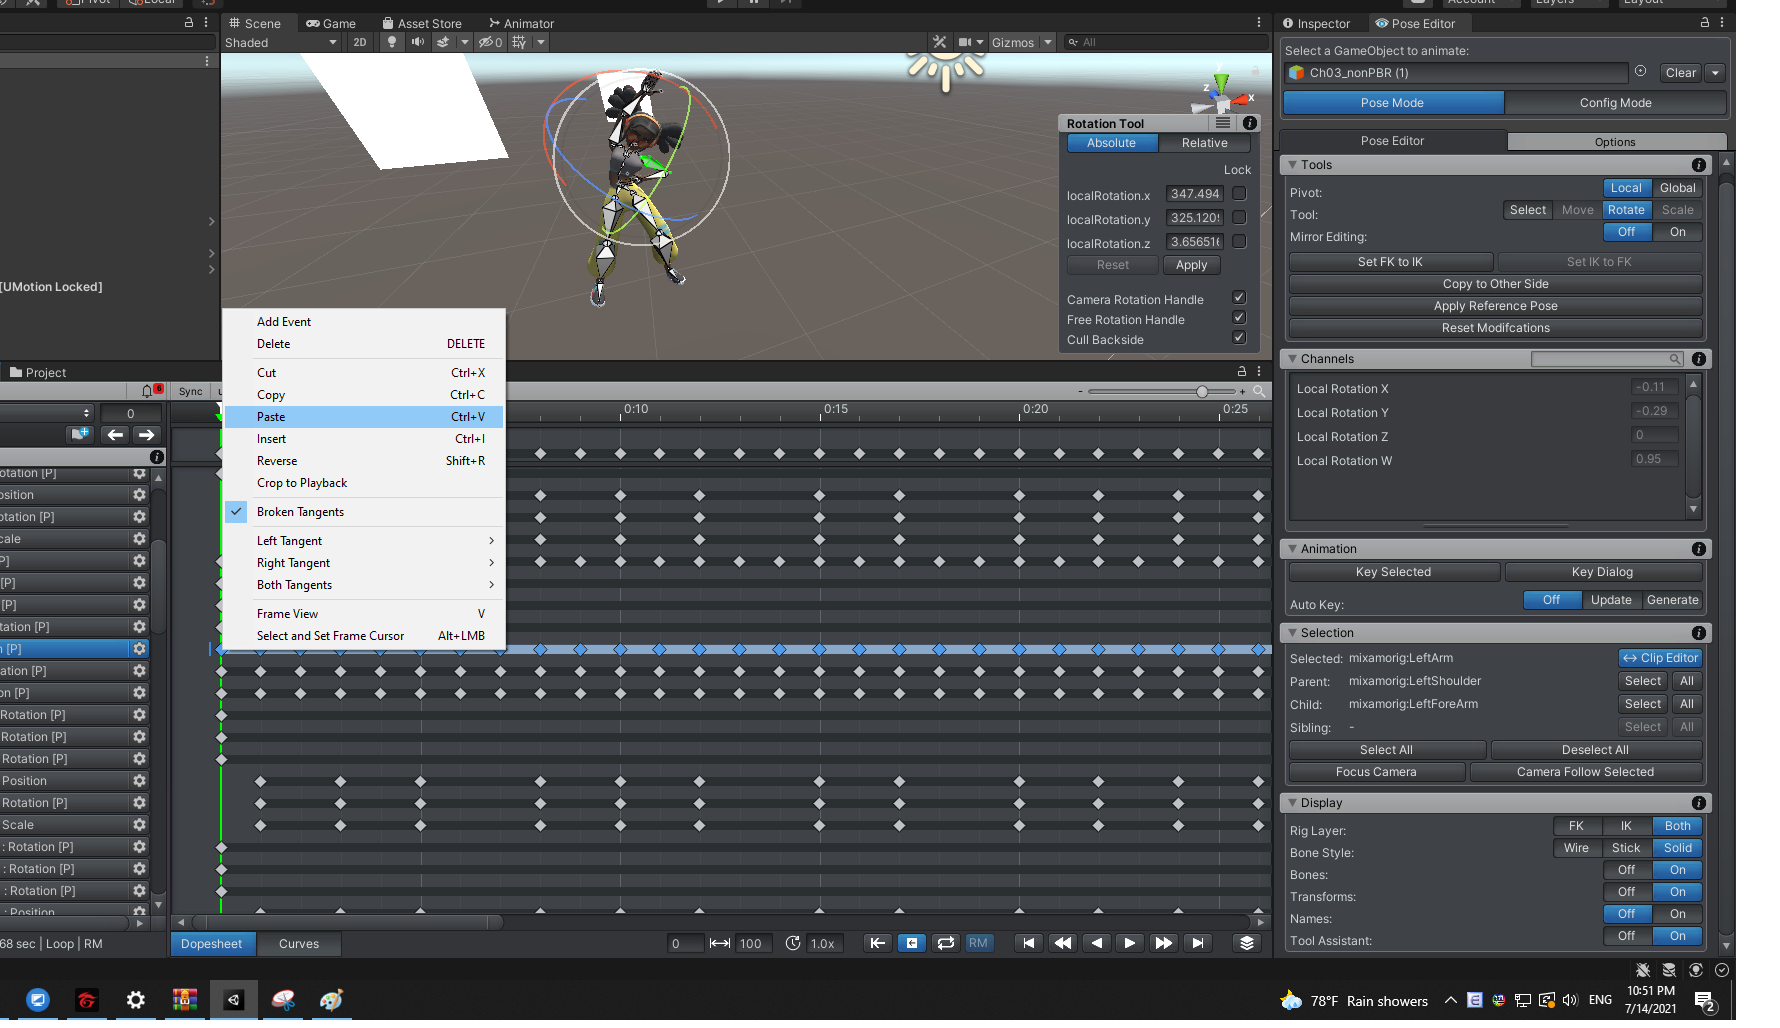
I copy the all the property of the LeftArm in the first keyframe. and paste it in to all the LeftArm in all the keyframes left, but it do not works.
How can i do it and save ?
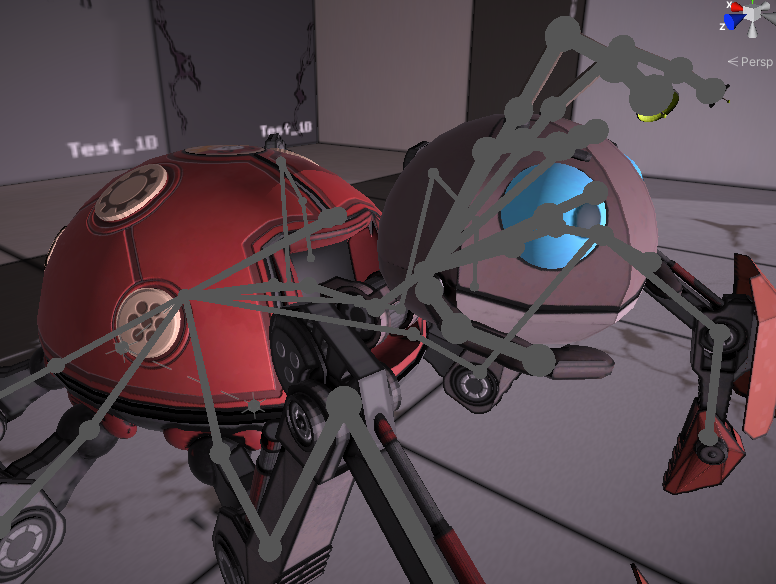
 Colored stick bones
Hi, I have been working with non humanoid model and I thought it would be nice if the stick bone ends (and maybe the normal bones too) to be colored differently.
As you can see in the picture it gets a bit confusing in the head area since there are so many bones clustered together there. And thought it might be a quick fix/idea if the bone ends were colored differently than the rest so they are easy to see and select. Reducing the bone size helps, but maybe it would be a nice utility/quality of life to add different colors too.
Hi,
thank you very much for sharing your idea.
I've added your idea to my list with ideas to consider for future updates.
A few things that might help you that are already implemented in the current versions:
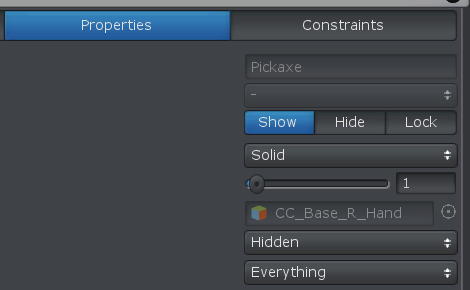
- The bone size can not only globally adjusted, but also individually for each bone (in the "properties" shown in config mode). Config mode also allows you to hide some bones or change their link style to dashed/none.
- You can change the overall color of the stick bones in the "options" tab of the pose editor. But as you've mentioned, it's currently not possible to change the color of the joints separately from the color of the connecting stick between the joints though.
Please let me know in case you have any follow-up questions.
Best regards,
Peter
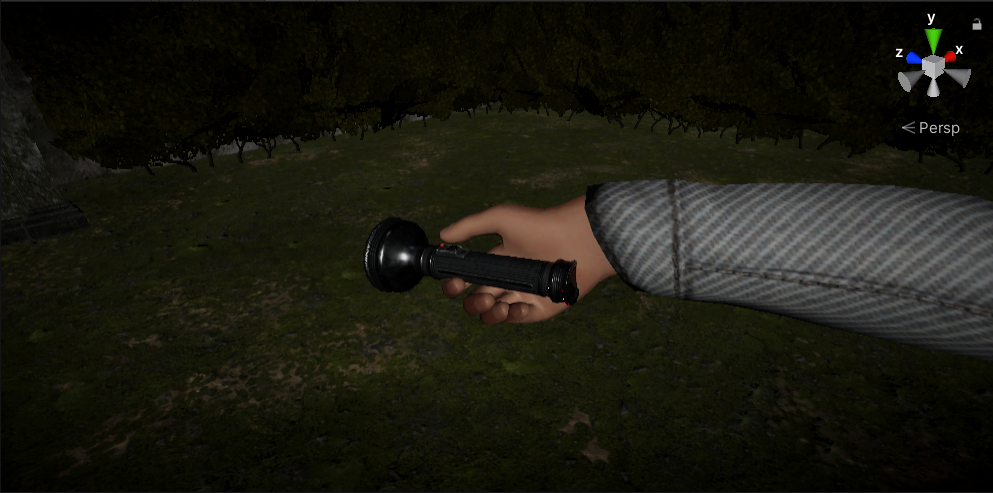
Animation not showing the same in playmode
When I set up my animation it looks fine in the scene:
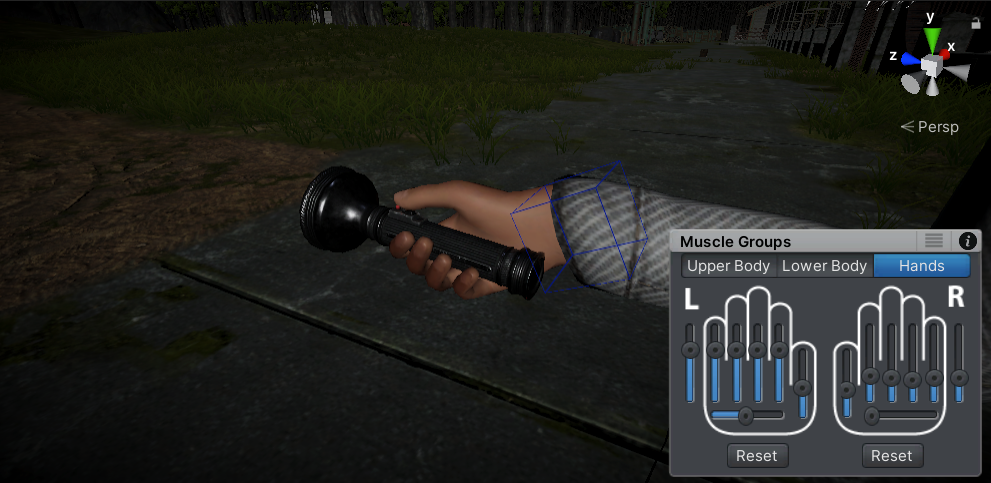
But when my character (the same character) is on that animation it looks misplaced. The hand a bit rotated and some fingers on top of each other:
Hi,
thank you very much for your support request.
What you're seeing is a quality trade-off that is due to the use of the "humanoid" animation system. Humanoid is a lossy animation format that does not provide this level of precision for animations (but in exchange for the precision loss, humanoid gives you animation re-targeting, meaning that you can play the same animation on any other humanoid character).
In order to get 100% accuracy for your animations, switch to "generic". More information about humanoid and why it comes with quality trade-offs: https://blog.unity.com/technology/mecanim-humanoids
To convert your existing UMotion project to generic, duplicate your character's fbx file and configure it as generic. Create a new generic UMotion project for it. Setup IK and then use the UMotion Clip Editor's animation clip importer to import the whole humanoid UMotion project. All your humanoid animations are now in your generic UMotion project. Exporting the animations now saves them as "generic" and can be used with your generic character.
Please let me know in case you have any follow-up questions.
Best regards,
Peter
Customer support service by UserEcho
