
 Unity crashes when attempting to connect a model to the Pose Editor.
When adjusting IK or clicking clear in Pose Editor, Unity 6.3 crashes.

Crashes usually mean a problem in native code. UMotion uses no native code so it might have just triggerd a bug that's within Unity's native code. Anyways, as this problem is fixed I remark it as solved. Please come back in case you have this issue again.
Best regards,
Peter
 Why is Progressive Quaternion Interpolation the default?
Why is Progressive Quaternion Interpolation the default?
I noticed all rotation curves are automatically set this mode at the beginning of all my projects.
I really hate this mode and don't understand why it is the default. The shortest path interpolation creates sharp directional changes at every keyframe and does not create smooth arcs.
Also, when I want to switch to euler angles, I have to do it for every single property one by one? There needs to be a way to switch all rotation to a different mode with one click.
Similarly, when I want to move the timing of keys in the dope sheet, say for the arm, I have to move the keys one by one for every property in the arm. It would be nice to have a filter in the property list to filter only the properties of currently-selected controllers, or by body parts.

Rotating Root Motion
I'm using a humanoid rig and a imported third party animation. The root motion is the pelvis but I am running into trying to change the whole animation by rotating it on the localRotation.y axis. I checked the rig and it is set properly. I'm just trying to edit the root so that it can be rotated properly.
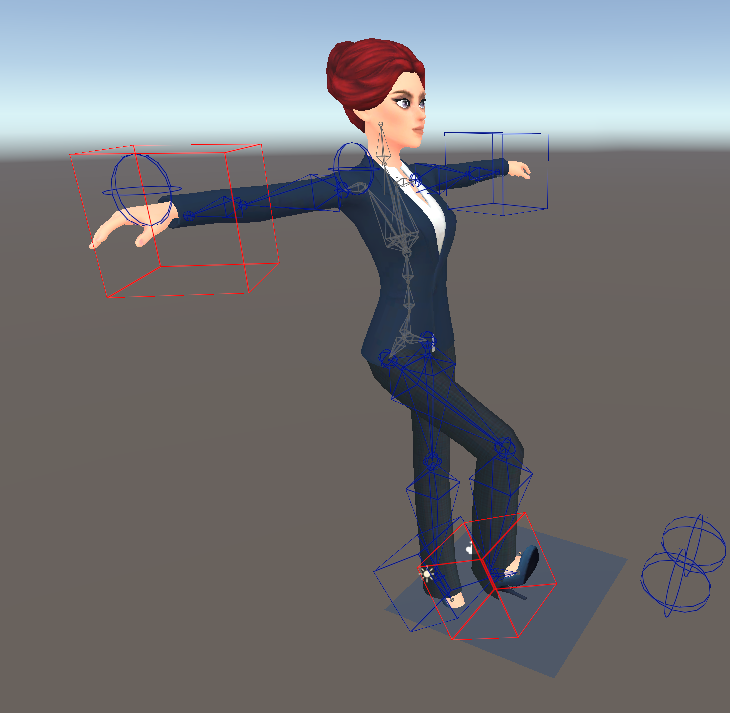
Not able to animate only one arm / leg at the time - it keeps rotating / moving both
As the tittle says - I'm not able to animate only one leg / arm etc at the time, it keeps moving the corresponding one on the other side (followed the quick start video, using IK with paid version)
Any ideas what might be wrong?
Thanks for any help in advance

Not able to see or select IK handles. I tried changing size etc but of no use directly using the Hand IK position
Cannot see IK handle gizmos to be able to move hands and legs Have to use the hand IK position and hand IK rotation etc to manipulate them. I can see them in the demo scene though is there any setting which puts them off. I am using the pro version

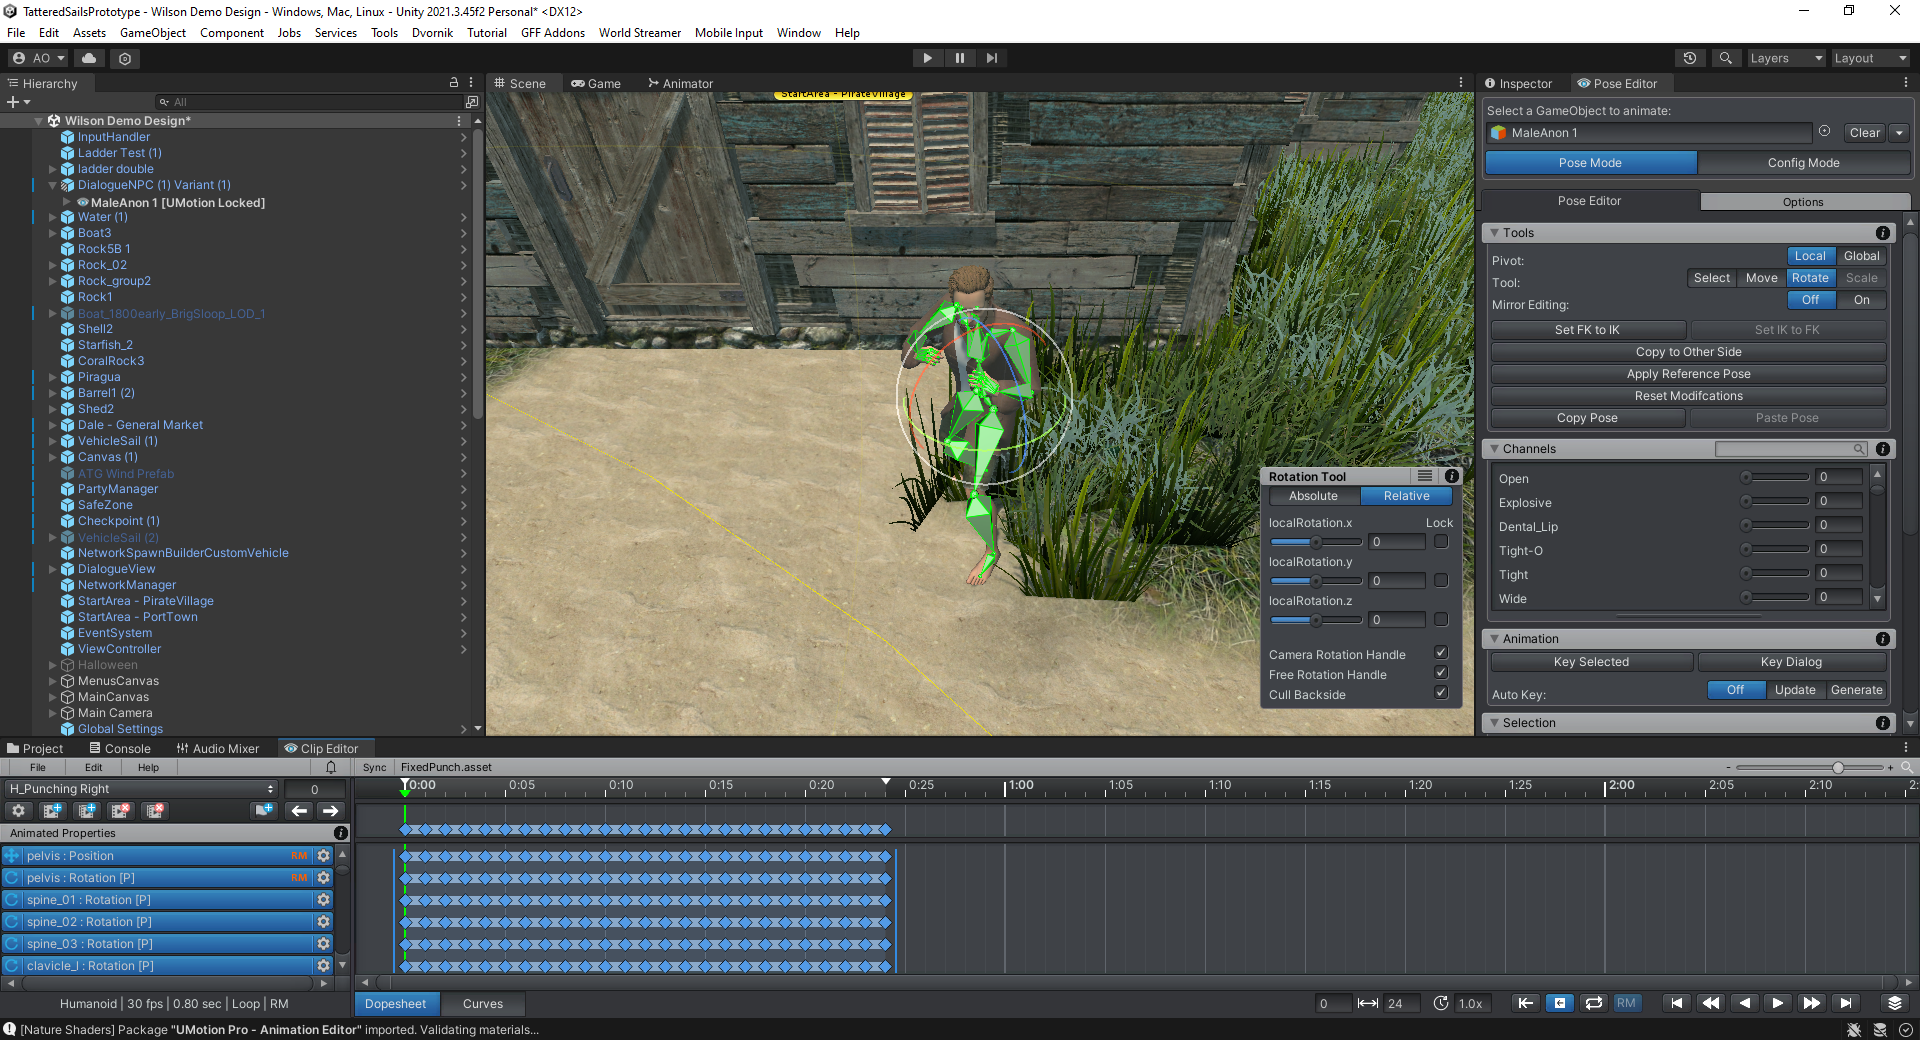
rotate in pose mode
hi admin... why i cant rotate the wrist of the hand for my character,,,>? i see your tutorial, you can rotate the wrist of the robot... (Quick Start - UMotion Official Tutorials).. on 1:53/4:40
but on my foot of the character,,, i can rotate it... im confuse because i have follow all the steps.. please help me sir

Real-Time PlayMode Preview
Animation results often differ between Edit Mode and PlayMode due to factors like IK, layer blending, and lossy frames. Currently, assigning a rig in PlayMode instantly resets the skeleton to the animation's current frame before any scrubbing, which diminishes the utility of PlayMode editing for features that modify the final pose, like IK.
Would it be possible to allow users to edit the rig on a paused frame without the skeleton resetting? I am using a single frame animation which is applied and it would be handy to adjust the spine rotation in realtime and then export the result.
Is a similar feature already available, or is this too complex? Thank you for considering this enhancement.

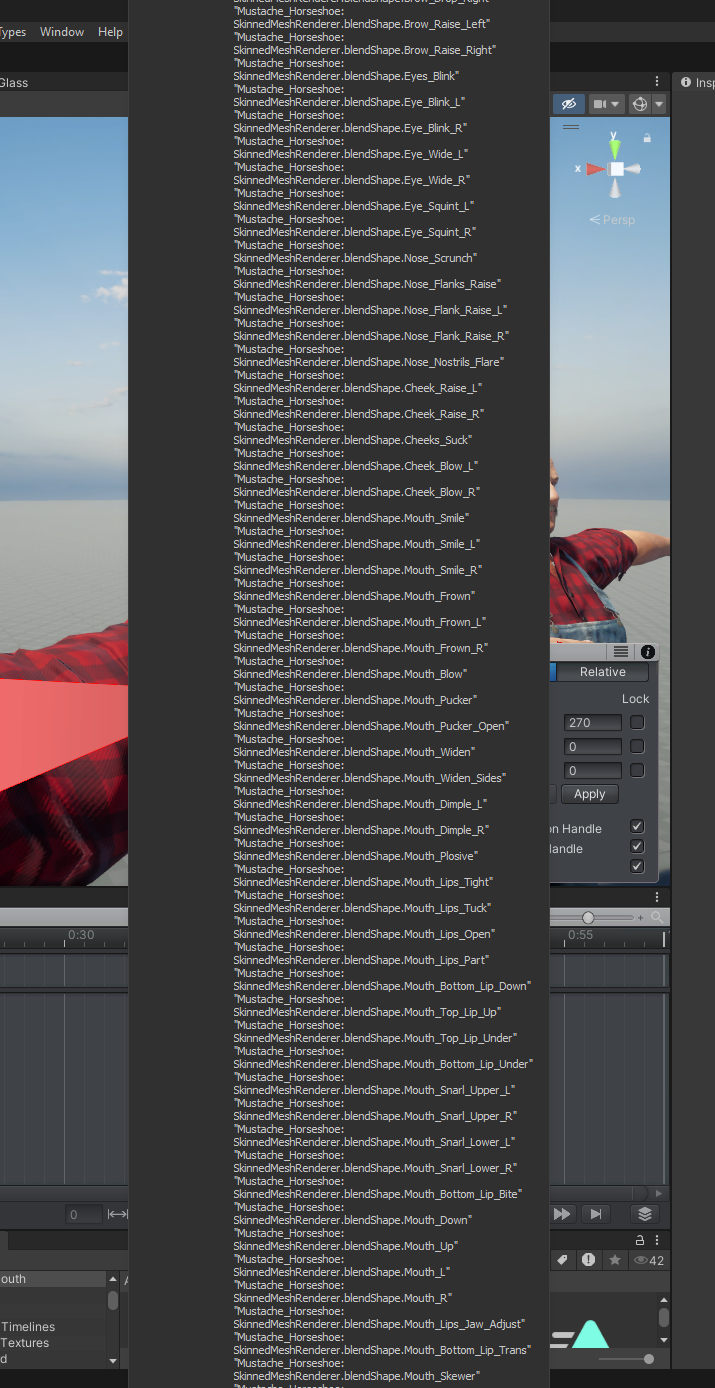
Blendshapes
Hi, I need to add blendshapes from my rig into Umotion. But theres few problems.
1. How to repair this? I just clicked add blendshapes at start of Umotion Project it was ok until i clicked Configuration. I don't see any of blendshapes in Configuration tab.
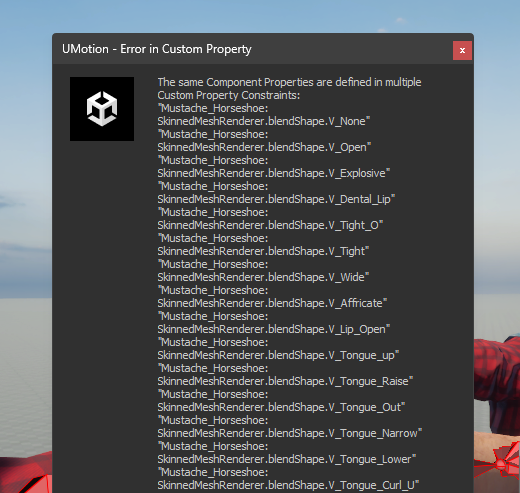
2.Why this error stop me from EXITING/CLOSING Umotion Project???
3. I would add some limit to height of error windows :)
Stabilize Upper Body / Constrain certain Body Parts make them not influened by other Animation
I have tried (and sadly failed) to edit animations in a way that makes the upper body stable.
My Character is in first person but I'd like to give it full awareness (see Outlast, Amnesia The Bunker) and i need to have the upper half of the Body be stable but of course every animation e.g. a walk cycle makes the body transform go up and down, shake etc.
Is there a way to retain the animations but make the upper body (chest + head) stable, even though the other parts move?
The Problem is that the body moves in unwanted ways, when i correct the Animation, walking makes the chest and head turn left and right, when walking is not in a fixed height the body (and head) moves up and down etc.
Maybe there is a constrain that makes it possible to only make the pelvis move to a certain height or keep the chest from rotating with the arm motion.
Best regards
ANIM file Incomptaible Clip error: There are euler rotations with an incompatible rotation order.
[Sorry if this is a duplicate post. My question is not showing up, so I am posting it again.]
I have an animation asset that comes with a fbx and whole bunch of individual .anim files. When I import the anim files to the project in Clip Editor, I get the Incompatible Clip error:
"There are euler rotations with an incompatible rotation order."
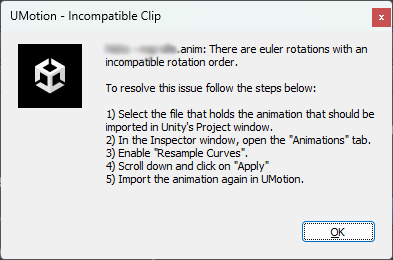
The error tells me to resample curves, but anim files do not have this option.
Anything I can do to get it to work before I ask the developer for those anim in a fbx?
Thanks.
Hi,
thank you very much for your support request. Yes you are right, the option to "Resample Curves" is only available for .fbx files that contain animations, not for standalone *.anim files.
What you could try though is to export the *.anim files to fbx using Unity's FBX exporter from the Unity package manager. The ideal workflow would be to instantiate the character model that came with your animations in the scene. Then assign the animations to that character. Then right click on the character (in the hierarchy window) and there should be an FBX Exporter related menu item showing up. Click on it. In the appearing settings dialog, ensure that you have "include animations" enabled.
The resulting .fbx file should now have the option to resample curves (but chances are, that it might not even be necessary anymore to use that).
Let me know how it goes.
Best regards,
Peter
Customer support service by UserEcho
