
 Animating generic objects that have no humanoid bone in their parent hierarchy is not supported
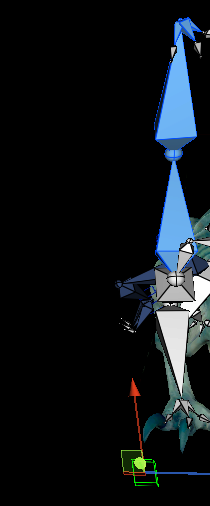
I'm not able to show the bones of an object that the player should be using, a sword. When I click on config mode, on the sword object of the rig hierachy that message appears "Animating generic objects that have no humanoid bone in their parent hierarchy is not supported"
Please help, I'm new to Umotion

Hi,
thank you very much for your support request.
Make sure that the sword is at least a child of the hips bone (or deeper down the hierarchy). To adjust the hierarchy, make sure that you have first removed the character from UMotion (by clicking the "Clear" button in the pose editor). Either create a new Umotion project then or if you want to continue using the existing project, click on the "Cleanup" button in config mode after re-assigning your character to UMotion.
Furthermore iIn order to make generic object's animate-able in UMotion, select the generic object in config mode's rig hierarhcy and under "Properties" set "Visibility" to "Show".
Please let me know in case you have any follow-up questions.
Best regards,
Peter

Newbie Question
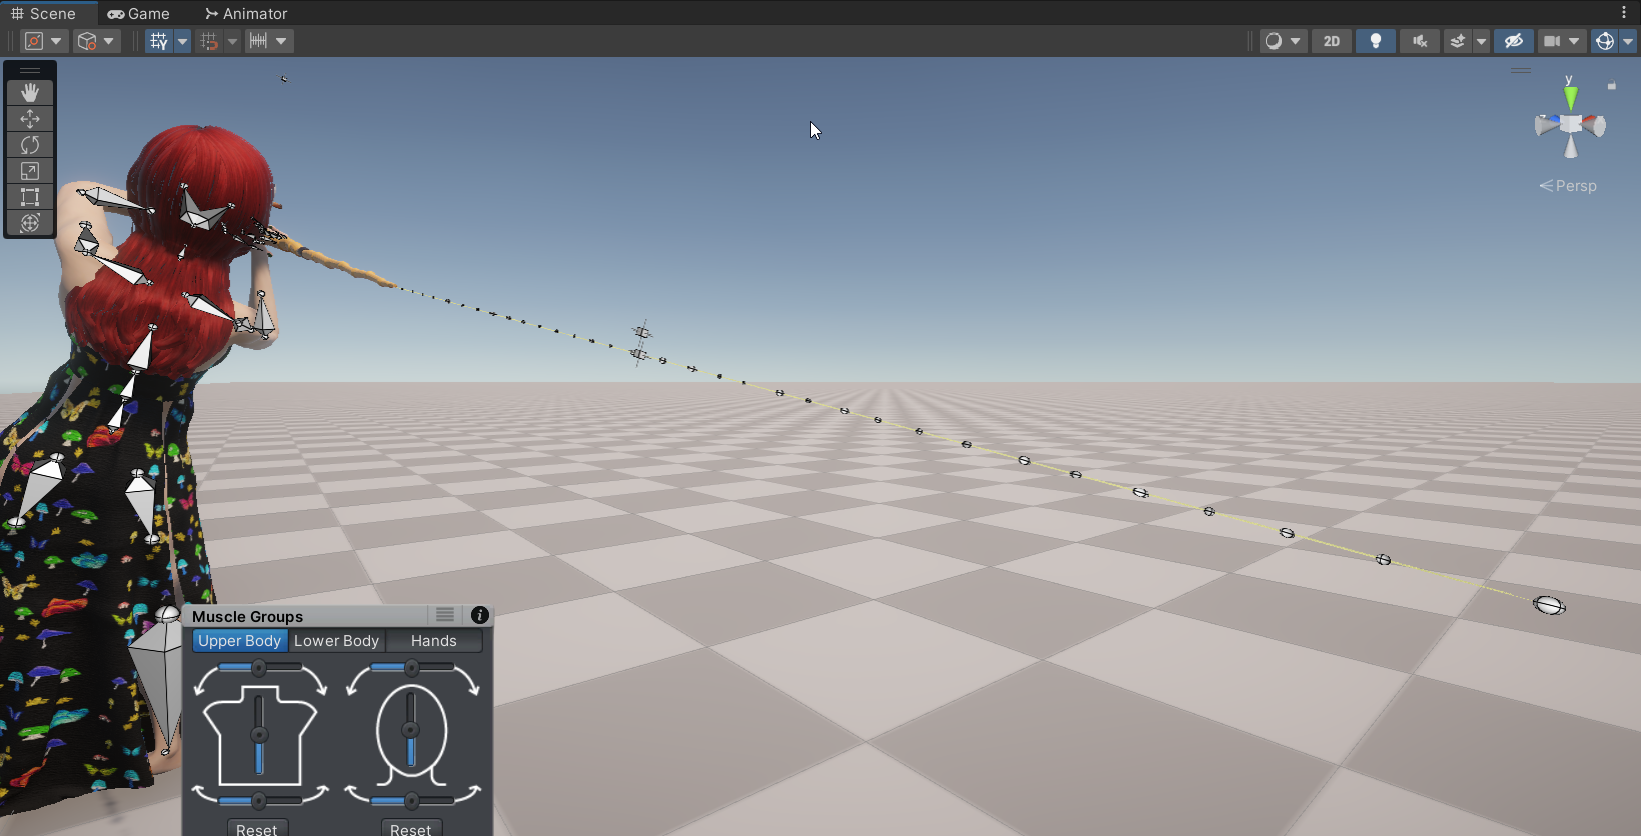
Hi, I have this rope with 35 bones and when I move one, they all move (and not in the way I want them to).
In comparison, with a character model, when a bone is moved in a model, the other bones "adjust" in a nice way. Sorry for the newbie description.
This rope with 35 bones is a child of the fishing pole, which is working fine as a child to the hand of the model. That all animates fine.
As you can imagine, I want to drag individual bones of the "rope" and have the others fall into place in a curve.
But when I move any of these 35 bones in the rope, they all move in exact formation. It is like I am moving all 35 at the same time. Not just one. How do I set it so I can drag certain bones up, and the others will adjust as a "chain" and not move all together?
If you want me to post a video of what it is doing, I can. Hopefully this explanation is clear.
Hi,
thank you very much for your support request.
But when I move any of these 35 bones in the rope, they all move in exact formation. It is like I am moving all 35 at the same time.
Yes, that's true for all bones (also for those of your character). If you move a parent bone, all child bones move along with it.
There is a functionality called IK (inverse kinematics) that allows you to move the endpoint of a bone chain and all bones adjust accordingly. Here is the video tutorial for inverse kinematics:
But be warned that IK might not produce a physically accurate looking result when dealing with ropes.
-------
Another approach: Hold shift while selecting the top-most bone of the rope (shift is going to select all children of a bone). Now that you have all bones of your rope selected, use the rotation tool. The rotation is now distributed equally across all bones of the rope making it bend nicely.
Please let me know in case you have any follow-up questions.
Best regards,
Peter

Editing Imported Animation - Adjust All Keyframes At Once?
When importing an animation into UMotion Pro to edit, it's common that, say, a thigh bone may create 100 points on the timeline. If I want to keep the animation but move the leg right a bit, do I need to update 100 points individually, or is there a way to select all, and offset them all right by the same amount? Thank you
Hi Edward,
thank you very much for your support request.
or is there a way to select all, and offset them all right by the same amount?
Yes, this can be achieved with an additive animation layer. In the first part of this video tutorial, I use an additive animation layer to add a rotation offset to an animation:
https://www.soxware.com/umotion-manual/InPractice2.html
In this video tutorial, additive animation layers are used to adjust the look and feel of an existing animation:
https://www.soxware.com/umotion-manual/InPractice3.html
Link to the UMotion manual "Layer's" chapter:
https://www.soxware.com/umotion-manual/Layers.html
Please let me know in case you have any follow-up questions.
Best regards,
Peter

From lying to sitting
It there a way to rotate the pelvis and lock the thigh, calf and foot from rotating with the pelvis. When I made an animating where the girl go from lying to sitting it looks not good when I rotate only the spine bones.
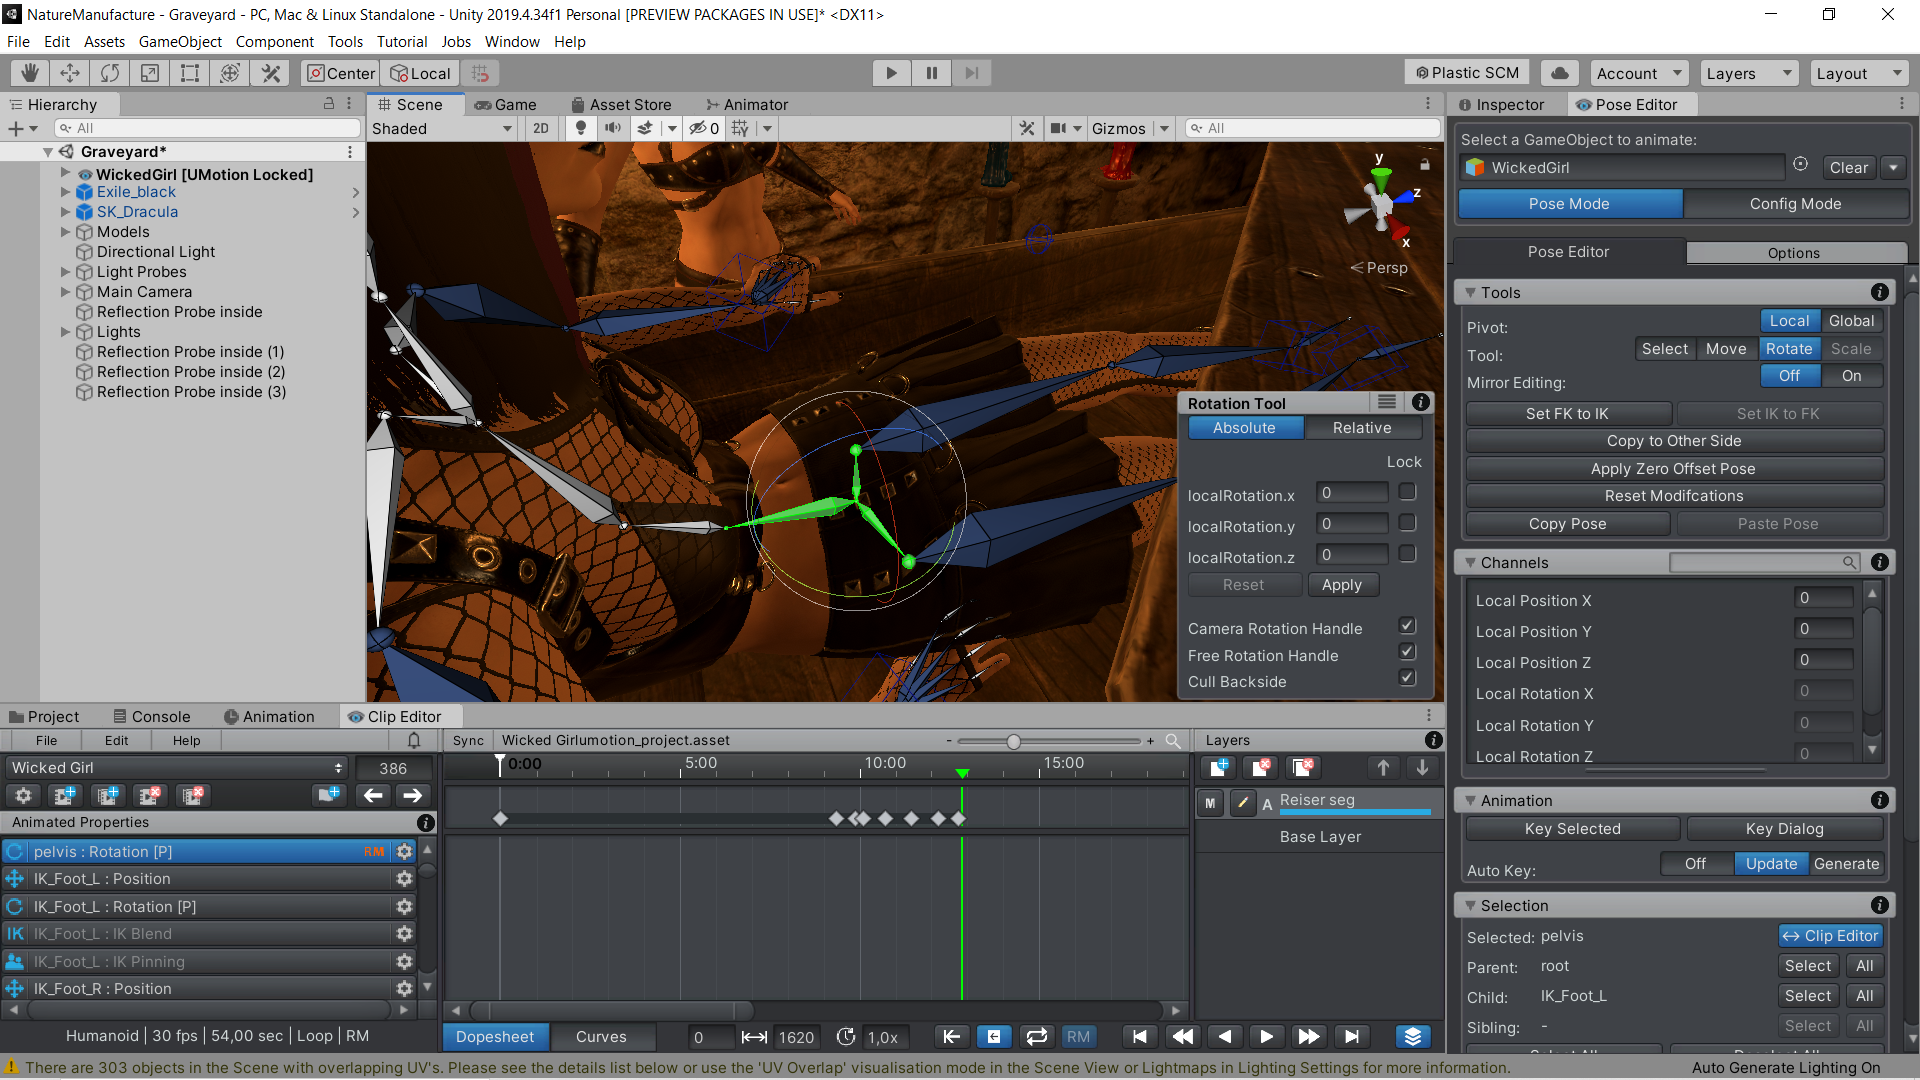
 FK to IK bake bug (IK handles will offset and bones do not follow)
Hey Peter, GameDevDave here again,
So this happens a lot:
The animation type Humanoid/Generic does not matter, IK seems to flip out of sync, sometimes without a keyframe or curve to correct.
It shows up in the export too.
It happens sometimes after baking FK to IK or when turning on pinning.
There are workarounds such as re-keying the frame or redoing a bake, there's no other way to go about it as far as I know and it is very time consuming.
Sometimes it 'does' show up in the keyframes, in the graph editor there will be extreme spikes, sometimes oddly enough multiple keyframes in a row, and they need to be fixed by dragging them up or down to fit the rest of the curve.
How to solve this?

Hi,
thank you very much for your support request.
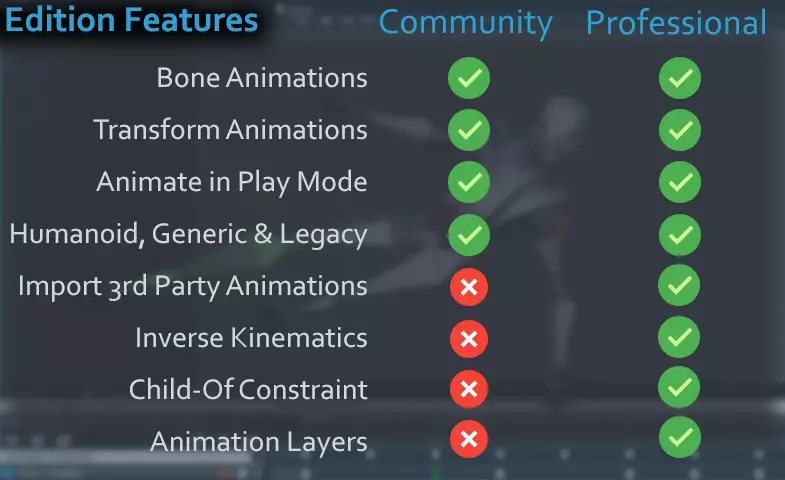
The differences are shown in a picture on the asset store:
Please let me know in case you have any follow-up questions.
Best regards,
Peter
Umotion-Warning found at least one bone/transform with a slash
The character model that I'm working with is using a naming convention that uses slashes to seperate words rather than underscores. When I try to import this model into the pose editor I get a warning message stating that I need to rename the bones. Is there a workaround?
Hi,
thank you very much for your support request.
Unfortunately there is no workaround, you really need to rename the bones.
Please let me know in case you have any follow-up questions.
Best regards,
Peter
 Animated Properties Sorting and Hiding
Hi Peter,
Thanks so much for your product and your support.
I was wondering if the Animated Properties could be sorted. For instance, I am trying to animate a soldier with a weapon. I already imported the clip, I just need to adjust the position of the rifle so that it looks normal and does not enter the mesh. For this, I just need to tweak the rifle, and both hand IKs. It would be helpful to either hide other properties, or click and drag the properties to the top so that I do not need to search for the property that I need to adjust every time I tweak one property and go to the next. But when you have 30 different bones you need to scroll through, it can be time consuming.
Please let me know if that is already an option. I have tried hiding the bones in the Rig Hierarchy but they still show up in the Animated Properties.
Thank you
Hi Brian,
thank you very much for your support request.
The fastest way to select an animated property is by selecting the appropriate bone in the 3D scene view. UMotion automatically selects and scrolls to the related animated property (in the clip editor). At the moment, there is no feature to sort/filter animated properties in the clip editor (I do have it on my to-do list though, but can't promise an eta).
I have tried hiding the bones in the Rig Hierarchy but they still show up in the Animated Properties.
There are 3 visibility options in config mode: Show, Hide and Lock. Hide only hides the bone in the scene view (but still shows it in the clip editor). Only "lock" hides it also from the clip editor, but this basically excludes the bone/transform from the entire project (meaning that it isn't animated at all anymore).
More information: https://www.soxware.com/umotion-manual/Configuration.html (see headline "Properties")
Please let me know in case you have any follow-up questions.
Best regards,
Peter

Are multiple humanoids or generics possible in one project?
Is it possible to have multiple characters that are all humanoid and rigged the same in a single project then just select the character in the pose editor then select any of the animations in the clip editor for the animation one wants?
My thinking is if all the characters are the same then I should able to just switch the clips around.

Why animation root transform are not exported to FBX?

I have a vehicle object. I made simple animation for translation and rotation. Then, I exported the animation as FBX. Then, this warning pops up resulting in my exported animation only move in place.
Hi Calvin,
thank you very much for your support request.
If I recall correctly, there have been some technical limitations of why exporting animation curves to the FBX root is not possible. Please use the *.anim export for this case.
Best regards,
Peter
Customer support service by UserEcho
