
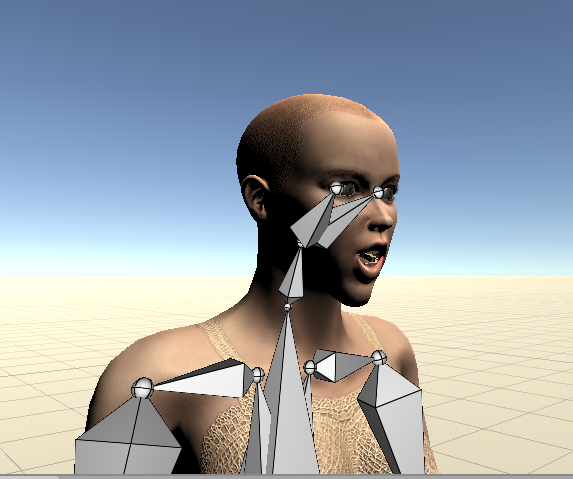
 Mouth and lips
Hi, it is possible some way change lips an mouth positions - open/close?
In default pose mouth is closed, but when I import some clips, mouth is opened and I need shut up this women...

 Unity 2019.3.8f1 Issues
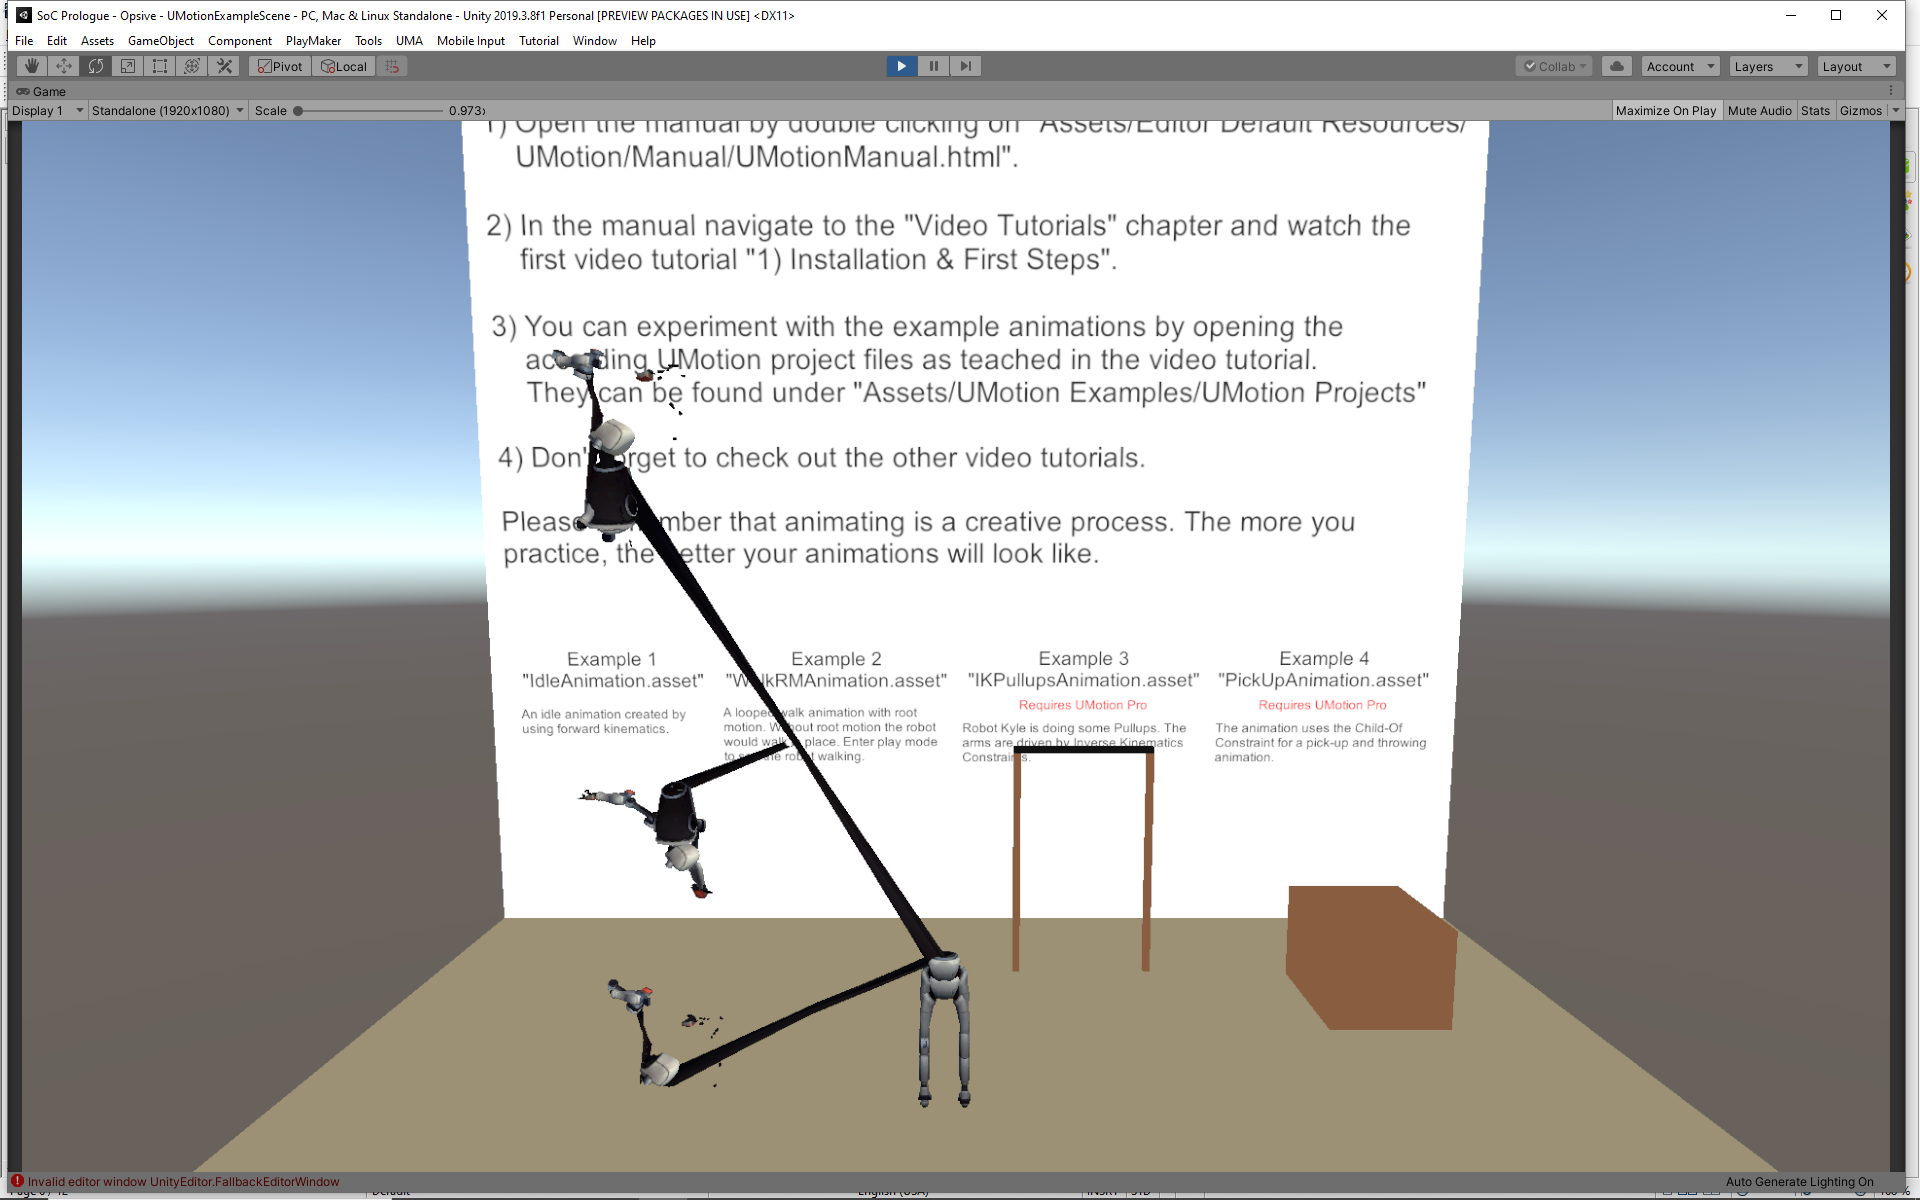
I am trying for the first time with uMotion free and when I open the example scene, the characters are all stretched out and whacky. Seems like it doesn't work in 2019 Unity. Any ideas?

Hi,
thank you very much for your support request.
All versions of Unity 2019 are fully supported by UMotion (including Untiy 2019.3.8f1). Looks like Robot Kyle wasn't imported correctly (it probably already existed in your project with different import settings).
My recommendation: Delete all UMotion folders and also delete all Robot Kyle related files from your project. Then import UMotion again from the asset store. Importing UMotion into a new empty Unity project should also work fine.
Please let me know in case you have any follow-up questions.
Best regards,
Peter

Importing clips from other UMotion project fails because of constraint setup
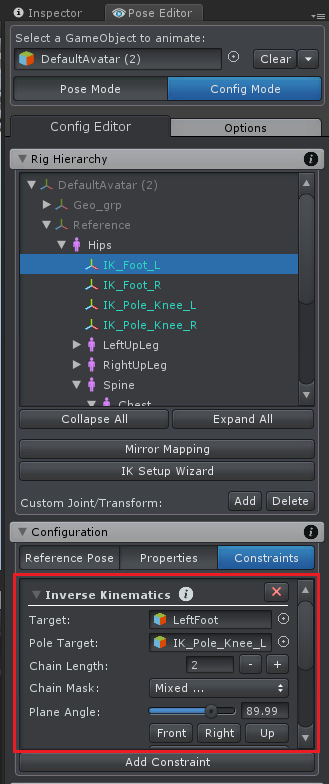
I'm trying to import some clips from UMotion project to another, but it's failing because I'm getting the error "The constraints of 'IK_Foot_L' are not compatible with this project. The constraint setup needs to be exactly the same."
Is there a way to get more specific info about this? The 2 projects were generated from identical rigs, and they both used the IK Setup Wizard, so I just wish I had more clues to figure out what is going wrong.
Thanks for your help! :)
Hi Sean,
thank you very much for your support request.
Switch into Config Mode and compare the constraint settings of "IK_Foot_L". All settings must be exactly the same:
Please let me know in case you need further assistance.
Best regards,
Peter

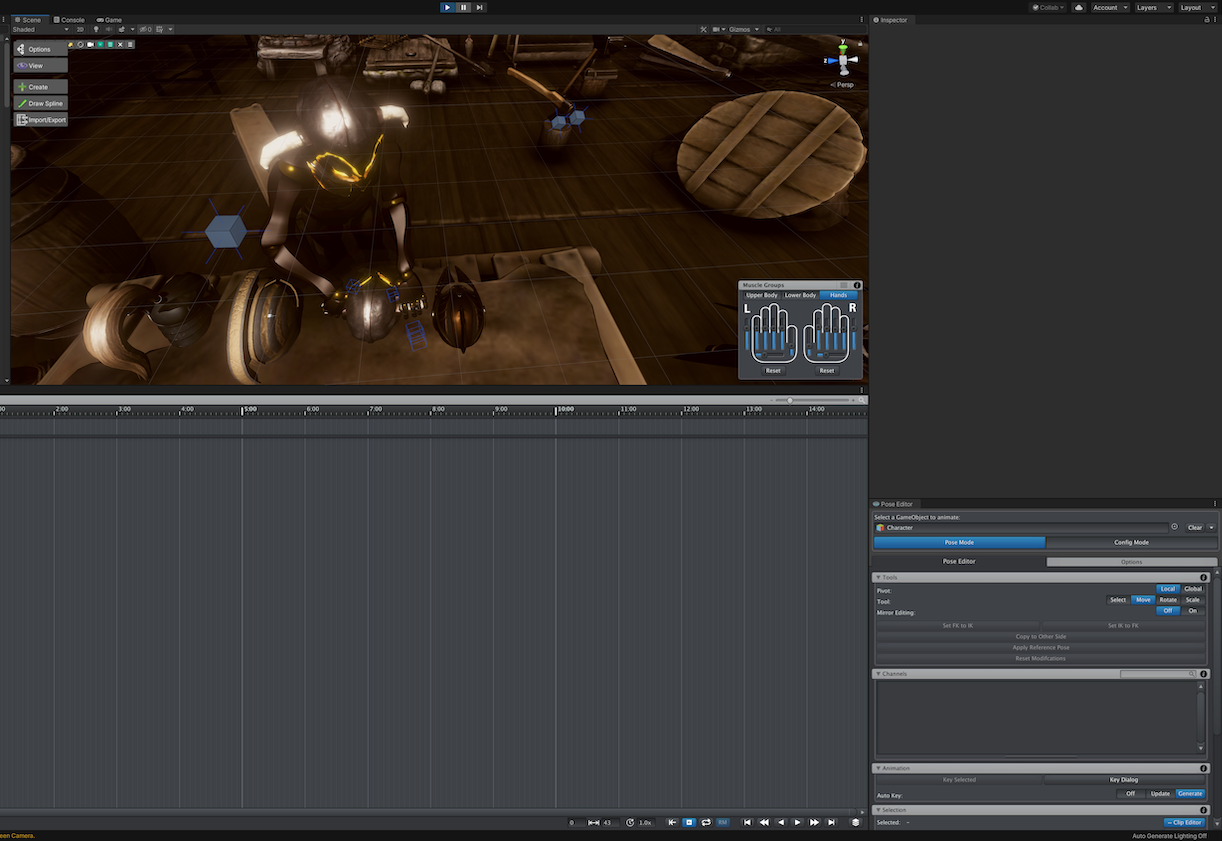
Mismatching Editor vs Game [Only Spine Rotating Left Right]
Hello,i perceived that spine rotation to left is not working it is rotating while editing however in the game scene it is not rotating here the screenshots that shows us difference and i also put a video which character always rotating around it. while simulating
https://www.dropbox.com/s/hvgyc0pqyp661w0/Ekran%20Kayd%C4%B1%202020-04-20%2018.16.46.mov?dl=0
Hi Efekan,
thank you very much for your support request.
Final detection,When spline rotating forward, foots are gone backward a little bit,foots are not pinned to ground any idea about that?
Yes this is a problem of Unity's incorrect root-motion generation. When you are exporting your animation to *.anim, UMotion can generate the root-motion curves for you (in a correct manner). Enable the following setting:
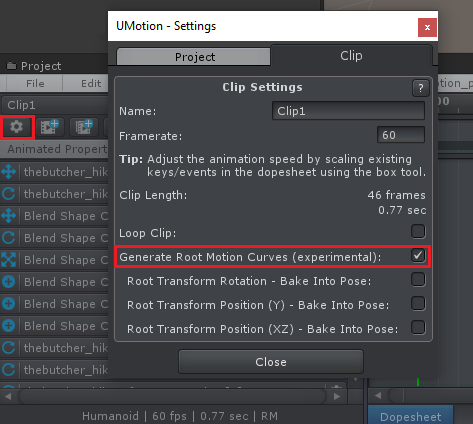
If you want your animation to be played "in place", then please enable all the "Bake Into Pose" settings (I think this is the issue of your initial question, right?). Without "Bake Into Pose" offsets accumulate every time the animation loops.
Please let me know in case you have any follow-up questions.
Best regards,
Peter

Mismatch between UMotion Editor Setup and Unity Editor
Hi Peter,
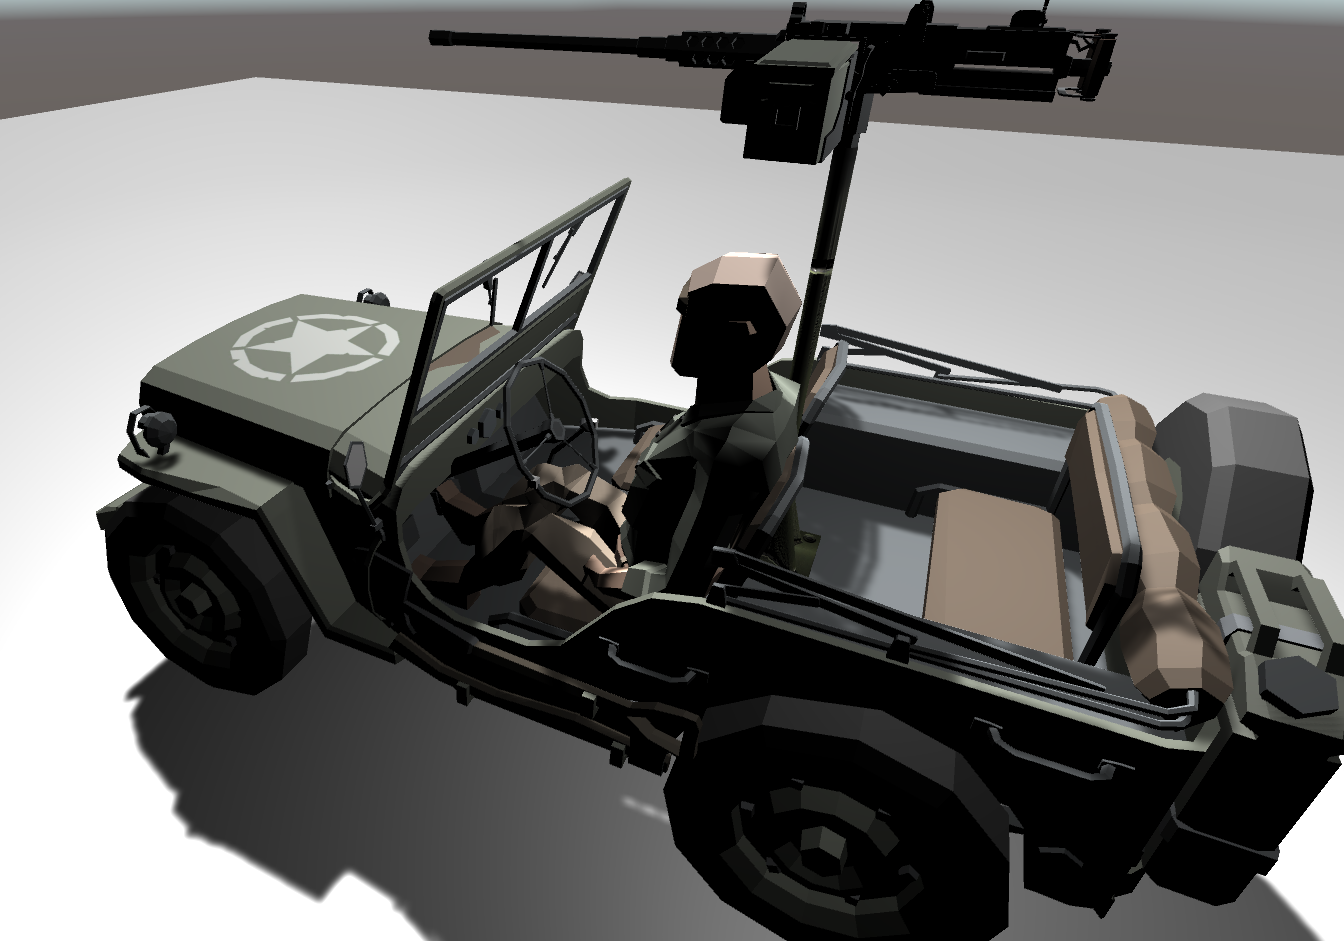
recently I bought your tool and first I must say top notch work! Keep going on! I've a Mixamo sitting Animation and try to fit it for a sample Scene. To fit the sitting character with the Jeep model I use, I've modified the root bone position and rotation by an additive layer. I also fit the feet positions by IK using two separaded override layers.
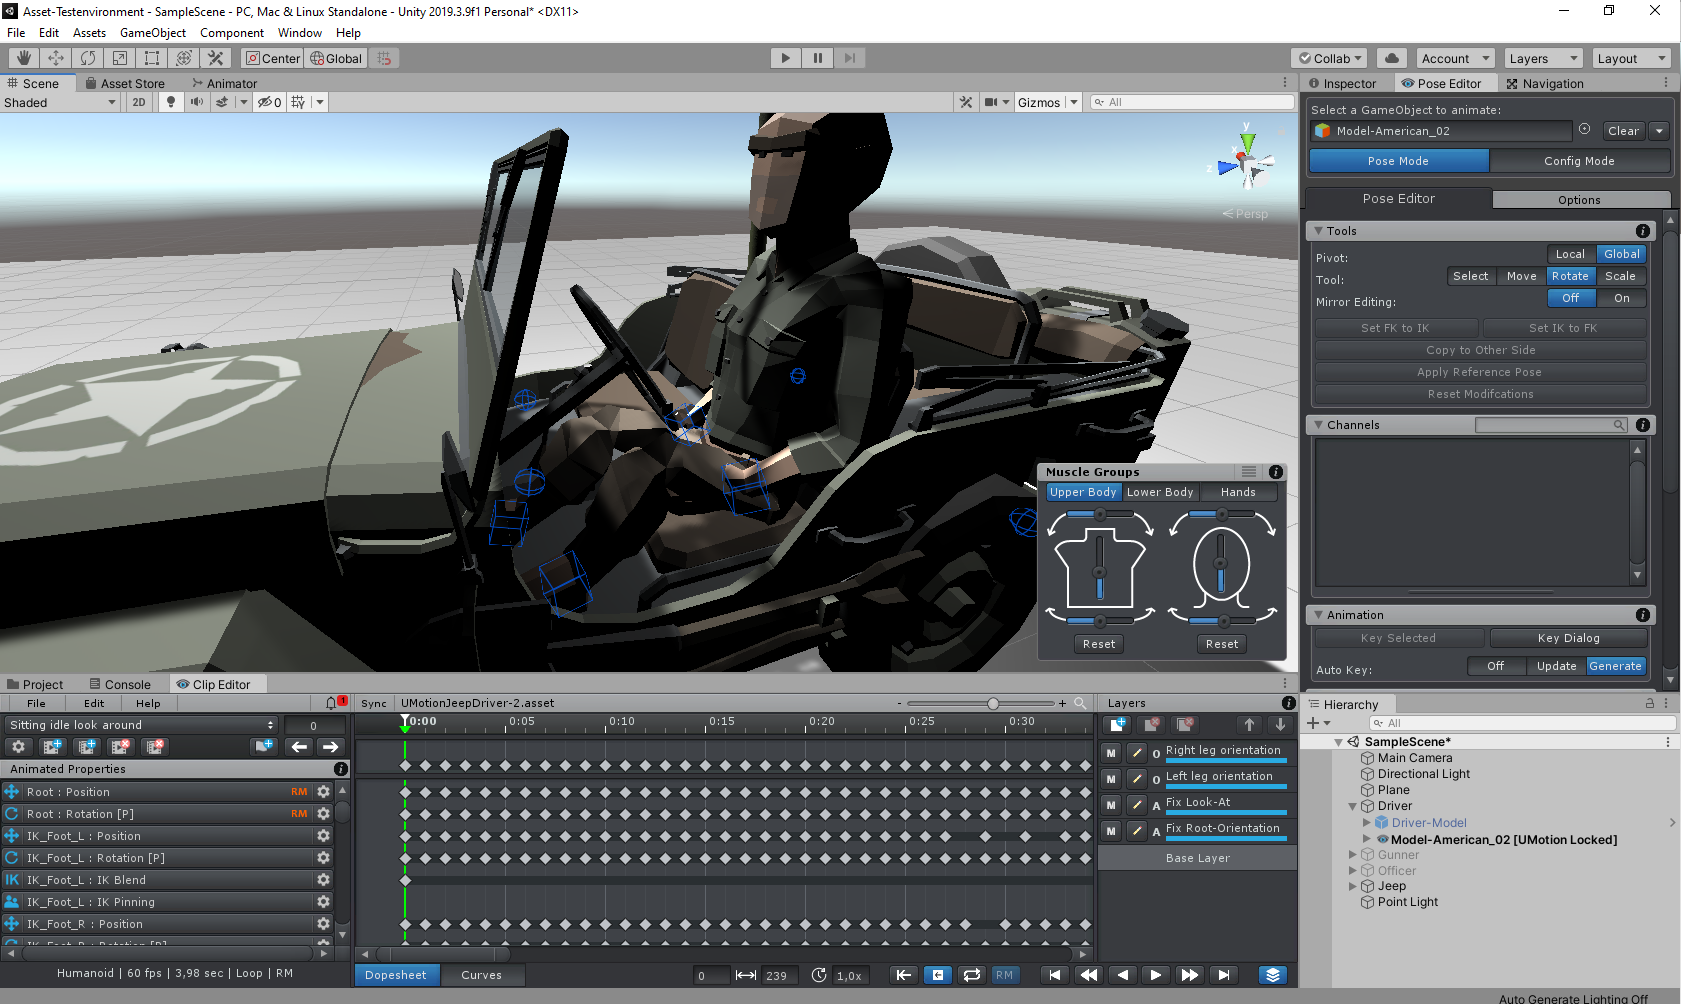
As you can see in the Screenshot, in UMotion anithing is fine. And the Animation now fits with the Jeep.
I've exported the Clip as binary FBX. But if I use this exported humanoid Animation in Unity the character height Position doesn't match anymore with the Animation. If I modify the root object Position in the Scene (not the model which is a child) it doesn't fit anymore with UMotion and vice versa.
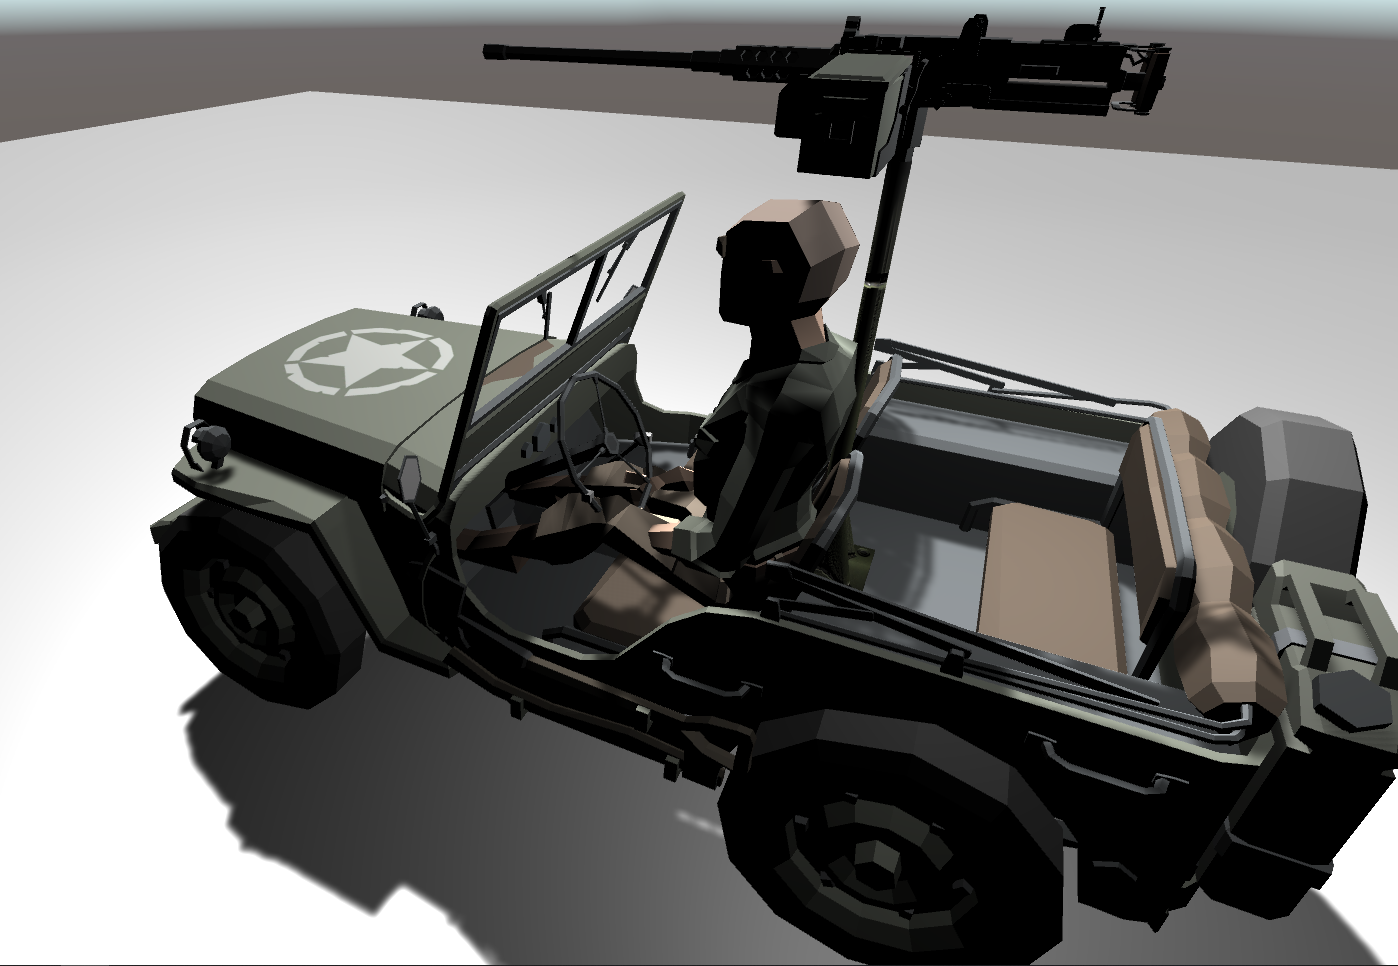
Also the IK Setup for the feet right is missing in Unity (IK is active in the Animator and also the weight is set up to 1). I tried several set-up the last 2 Hours but I can't find a solution. Any help is appreciated. Thanks in Advance.
Best Regards
Christian

Animation export has keys for bones I didn't animate
When I export an animation it's showing keys for a lot of bones I didn't animate. This is a huge problem because I am only animating the right arm to draw a weapon, so when I play this on layer 1, it's over writing the rest of the figure's animation because it thinks more than just the arm is being animated.
I tried just removing the extra keys in the unity animation window, but the legs got completely out of whack.
Hi,
thank you very much for your support request.
I guess your model is of type humanoid? For a humanoid animation to be valid it always needs animations for all the muscles of all the required humanoid bones. So UMotion's behavior is correct when creating all those muscle curves. When you manually delete these additional muscle curves, your animation get's invalid and thus you get incorrect results.
"This is a huge problem because I am only animating the right arm to draw a weapon, so when I play this on layer 1, it's over writing the rest of the figure's animation because it thinks more than just the arm is being animated."
The correct way of doing this would be by using an avatar mask to define the parts of the animation that your layer should use:
Generic animations work they way you would have expected (only the bones you animate are being exported). This is because generic is a regular/classic animation and "humanoid" is a regular animation converted into the normalized "muscle space" that can be re-targeted to other characters: https://blogs.unity3d.com/2014/05/26/mecanim-humanoids/
Please let me know in case you have any follow-up questions.
Best regard,
Peter

humanoid changes to generic
Hi Peter
Sorry to keep troubling you
just a little background
I mostly use unity for animations not game making
I make my assets in 3ds max then rig in mixamo (as I hate rigging and waiting to render in 3ds max )
and use mixamo animations
I then import ito unity
i bring in the fbx model in the inspector I set as humanoid as I always use the time line I love the time line.
then import the fbx anims setting them to humanoid
then ctl d the anim and delete the fbx
I then have a folder full of anims to work with
(with your great asset I can see that I can make my animations 100/ better
the more I play with it the better I like it and wish id bought it sooner)
so I was testing out started a new clean unity project
Imported 2 characters rigged in mixamo
and some animations
I started editing the animations in Umotion added a layer additive (love the layers)
saved my animation as anim new file(Anim_Waving_Altered)
then tried to load to make another alteration to the file
but get
this clip of type "generic" uses a different rig change the clip to humanoid
so I loaded my other character in umotion then loaded the clip no problem
in the timeline the clip is still happy if it was generic it wouldn't work in there?
ive uploaded to your Dropbox
it is the yoshi model that is effected not the jack model
thanks for your time Robin
Child-Of Constraint
hi i've just bought this great software thanks
but i'am having trouble understanding the child of constraints
so i think it needs to be part of my character ?
not a bone?
so i dragged a cube onto my character
i added a child of constraint in the config mode turned off ik pinning mode
in pose mode i added the cube
should i now be able to move the cube to move the arm?
if so i cant select the cube
i looked at the example project but could t get any help from there.
on a side note in the forum it says 200 plus topics but i can only see the first 10 or so is there away to see them all
thanks
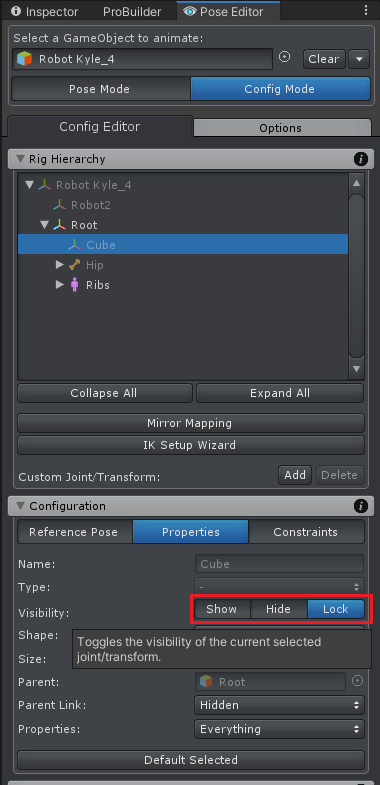
Hi,
thank you very much for your support request.
When your project is of type humanoid, only the humanoid bones are visible by default. You can enable the bones/transforms of generic objects (like your cube) by switching into "Config Mode". Then select the cube (in the "Rig Hierarchy") and in the "Properties" tab set "Visibility" to "Show".
The "PickUpAnimation.asset" example project uses the Child-Of constraint on a cube. You can take it as an example.
Please also watch the child-of video tutorial:
"on a side note in the forum it says 200 plus topics but i can only see the first 10 or so is there away to see them all"
I'm sorry this was my fault. The "paginator" at the bottom has been disabled. I've enabled it now. You can also use the search bar to search for specific issues.
Please let me know in case you have any follow-up questions.
Best regards,
Peter

Animation Not working even if i try every setup
Hi, i have buy today your pack but its not working i want a refund.

Import from Blender
Thank you :)
Hi Olafs,
thank you very much for your support request.
You can import animations from Blender like you would normally do in Unity: Either place the *.blend file directly in your Unity Assets folder (or any sub-folder) or export the animation as *.FBX (from Blender). Once Unity has imported the files (and thus created Unity proprietary *.anim files internally), you can use the Import button in UMotion to import the related animations.
"can I use UMotion successfully in a 2D game?"
With UMotion you can create a UMotion project file of type "generic" that allows you to animate any Unity transform's (i.e. the objects you see in the Unity Hierarchy) position, rotation and scale. By using a "Custom Property" constraint you can animate any property of a component/script. So yes, this basically allows you to animate anything you want, also 2D objects.
Please let me know in case you stumble across some issues, I would be happy to help.
Best regards,
Peter
Customer support service by UserEcho
